PogoGirl Devlog #14: How I Build Levels
Last time I mentioned that I was doing levels for Go! Go! PogoGirl and that I changed my Tiled setup to make the process easier. Well, I’m happy to say that I’ve now made all levels in the game! While I do enjoy making levels quite a lot, it’s a very tricky thing to get right. Good level design is an art. And while I don’t consider myself an artist in that regard (or any other regard, actually), I thought I’d share my process of building the levels for Go! Go! PogoGirl!
The first thing I did was to list all the obstacles, enemies and gimmicks that I had in my game. That sounds obvious, but it is surprisingly easy to forget what you’ve got in your game. Then I sorted all these features by their difficulty. Which enemies are easy to beat, which are the most easy to grasp and forgiving obstacles? Those go on the easier side of the list. What obstacles build on top of other ones? Those go towards the bottom of the list, and so on. This gives you a first, general look of the overall flow of the game.
Gauging the difficulty can be a bit tricky of course, so to help me out I made another list: I thought of the various uses each feature had. For example, a falling platform can be used in the following ways:
- One platform over a pit
- One platform over spikes
- Two platforms over spikes
- Two platforms over spikes while an enemy is attacking you
- …
Of course I didn’t list all possible uses, only those that create a sort-of natural progression. And I also considered the interesting combinations with other features, such as bouncing off a falling platform at the right time to land on a moving platform. Having an overview of some possible uses can help you gauge how tricky a feature is, and how much use you could get out of it throughout the levels.
At this point I had a list of my features and their possible uses, roughly sorted by difficulty. The next step was to spread these features across the levels. I feel it’s important to have a steady stream of new things throughout the levels, so that there’s always something new to discover. I used the list I had made as a guide, considering when to introduce each element so that players could get used to it before encountering the next variation. This is especially important when you’re combining elements, as both need to be introduced separately before you combine them. By doing this, I ended up with a list telling me what obstacles, enemies etc. to use in what level.
This is of course a tricky process, so it’s important to remember: You can and will change a lot of this later.
With all this list-making out of the way, building the levels was a lot easier because I had a rough idea of what to put where. However, while building levels, you’ll inevitably come up with new ideas to use your gimmicks. Add these to your list, and maybe shift the items around to make a new flow! It might seem annoying to undo all that work, but this is a good thing. Because the most important part of making levels is:
Test your levels.
Play them while you’re making them, see if they’re fun, see if they even work. Also, let other people test them. It’s hard to properly gauge the difficulty when you’re the one making the game, so it’s vital to get other opinions…and maybe you’ll get another idea or two out of it as well. Watch others play your levels, write down things they have trouble with, things they miss, things that seem too easy. Every bit of info can be useful.
Never be afraid to adjust and modify your levels. Making levels is a process, you need to constantly iterate to get the best levels possible. Implement new ideas, fix what doesn’t work, shift things that are too hard or too easy for a certain part of the game. Yes, this can be a lot of work, but I’d say it’s necessary. The chances of making a perfect level from scratch are very slim. At least for me.
And that’s what I did for Go! Go! PogoGirl. Well…actually, it’s what I’m still doing. While I’ve created basic versions of all the levels, I’m currently still in the testing process, adjusting things here and there. And I already have a list of things I want to change, along with one or two new ideas I might put in…and I’m still looking for more.
To that end, I will post a new demo build for my Patreons very soon! So if you want to give the game a spin yourself, feel free to do the Patreon thing.
And yeah, this is pretty much the technique I used to make levels for Go! Go! PogoGirl. Maybe it’s useful for someone! Do you have a special technique or process that you use when designing levels? I’d love to hear them!

Want To Buy Me a Coffee?
Coffee rules, and it keeps me going! I'll take beer too, though.

Related Posts

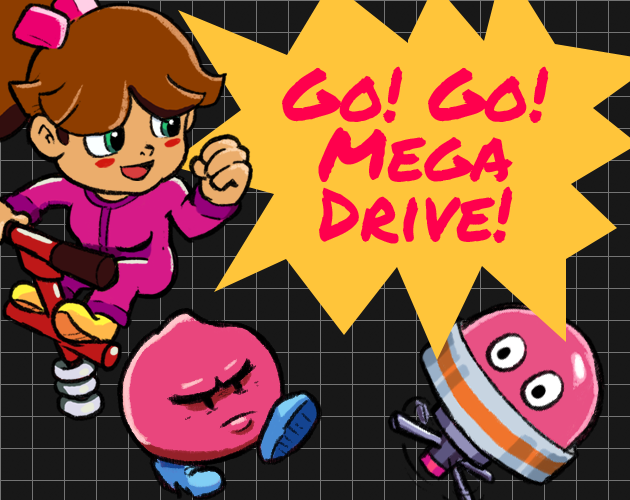
Go! Go! Pogogirl Is Coming to Mega Drive!
It is finally happening: Go! Go! PogoGirl is coming to the Sega Mega Drive!
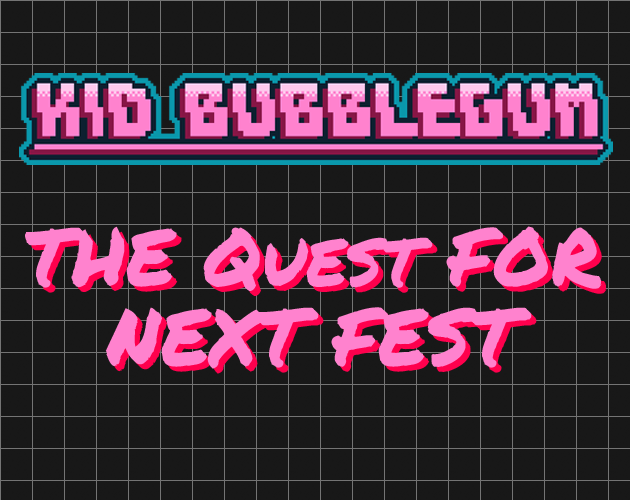
Kid Bubblegum Devlog #2
And we’re back again with more Kid Bubblegum! First of all, the game now has a Steam page, so I’d be tickled bubblegum pink if you could hop on over there and wishlist the game. It helps a lot! Now to the game itself. This week was spent building a few levels, making a new enemy type and polishing the game up to a basic state…just like I had planned to do.
Comments
By using the Disqus service you confirm that you have read and agreed to the privacy policy.
comments powered by Disqus