Sonic Mania Plus' Genius Tutorial
The long-awaited Sonic Mania Plus recently came out and I can easily remember the last time I had as much fun with a game—it was with the original Sonic Mania. Since I’ve beaten that game more than once I jumped straight into Encore mode on this one, anxious to try out the two new characters that were added in the update: Mighty the Armadillo and Ray the Squirrel. The gamer in me relished the entire trip through Angel Island zone, a sort of prologue stage of Encore Mode. The graphics, sound and gameplay were spot on, the whole thing was just a joy to play. But once I found and unlocked Mighty and Ray, the game designer in me got a pleasant surprise as well.
Sonic Mania Plus has a good tutorial while not really having a tutorial at all. You see, it gives a very good example of teaching game mechanics via level design. I’ve written about that particular technique before (and mainly on how it can go wrong) and this is a very good chance to see what it’s all about. So let’s dive in and see how the designers teach players without explicitly teaching them!
Up and Down
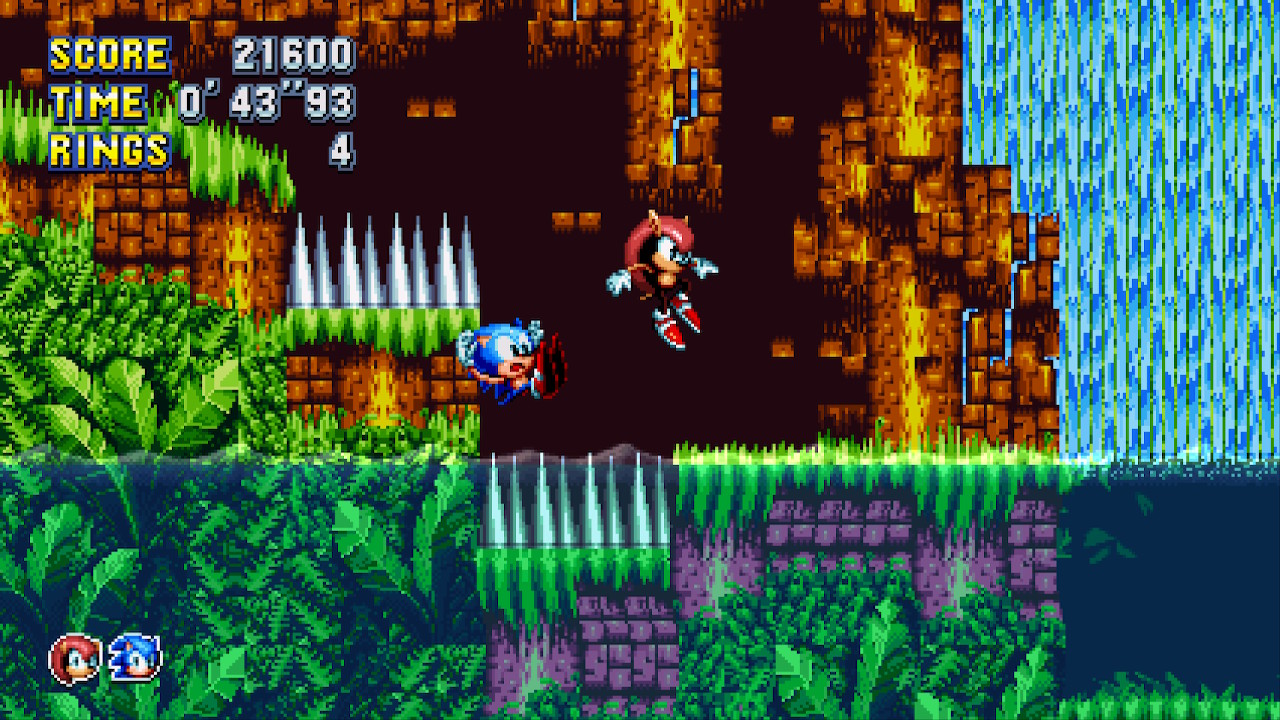
A few seconds after you’ve unlocked Mighty and Ray (and picked one of them as your companion), you come to what looks like a dead end. However, if you look closely there are actually two paths you can take:
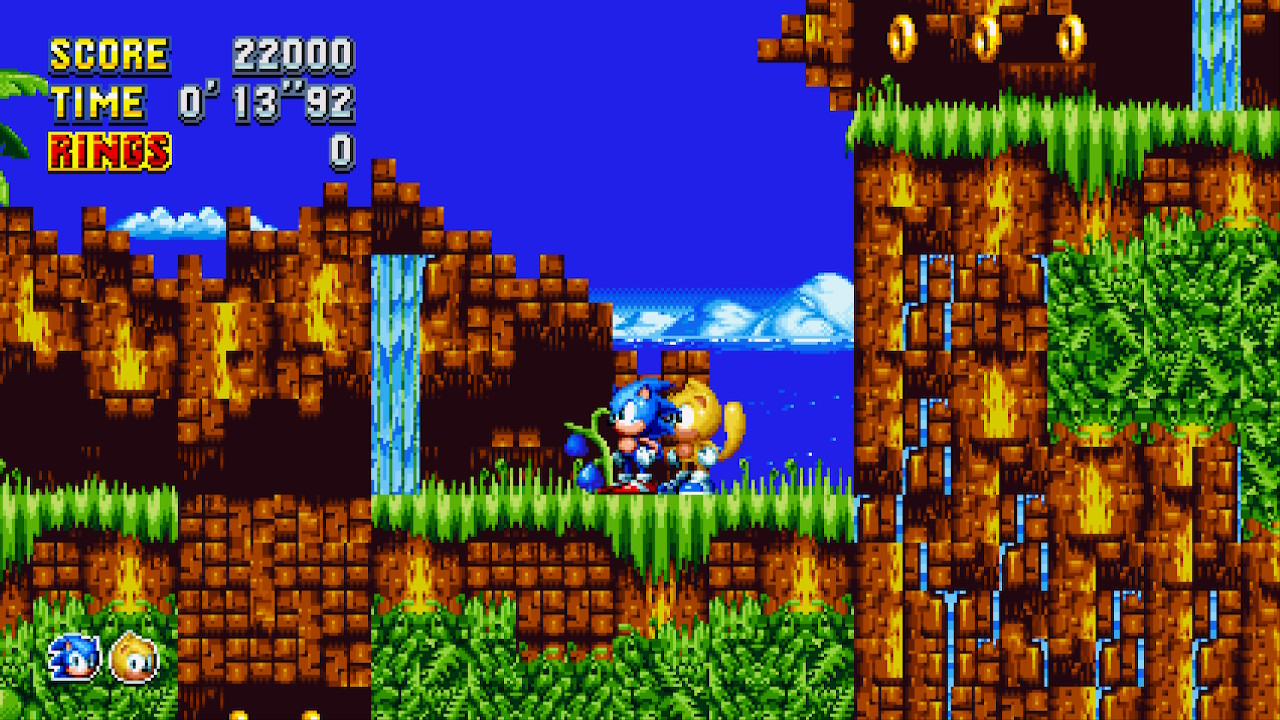
There is a ledge to the right, as well as a hole in the floor that’s blocked by some loose rocks. Rings indicate that you are able to go there, because why would pickups be placed completely out of reach? Now, the trick is that you can only reach these paths using the special skills of the new characters. Sonic can neither jump high enough nor crash through this floor, so players know they need to approach this from a different angle. Luckily, Sonic Mania only really uses one button for gameplay, which eliminates a lot of guesswork. Also, if you’ve played the main game (or any other 16bit Sonic game, really) you know that pressing jump while in the air triggers a character’s special move; Sonic uses the Drop Dash (or Instashield), Tails starts flying, Knuckles glides. So it’s not too far-fetched to think that players will try the same button combo in this instance.
And that’s the solution! When you press jump in midair, Ray starts flying (or gliding?) and makes it to the upper level. The ledge is actually at a height that makes it very easy to get up; simply pressing jump again in the air gives you enough height to reach the ledge if you’re standing directly next to it. You don’t need to master this new skill, you just have to discover that it’s there. And since the area is safe and free of enemies, you’re free to play around and experiment.
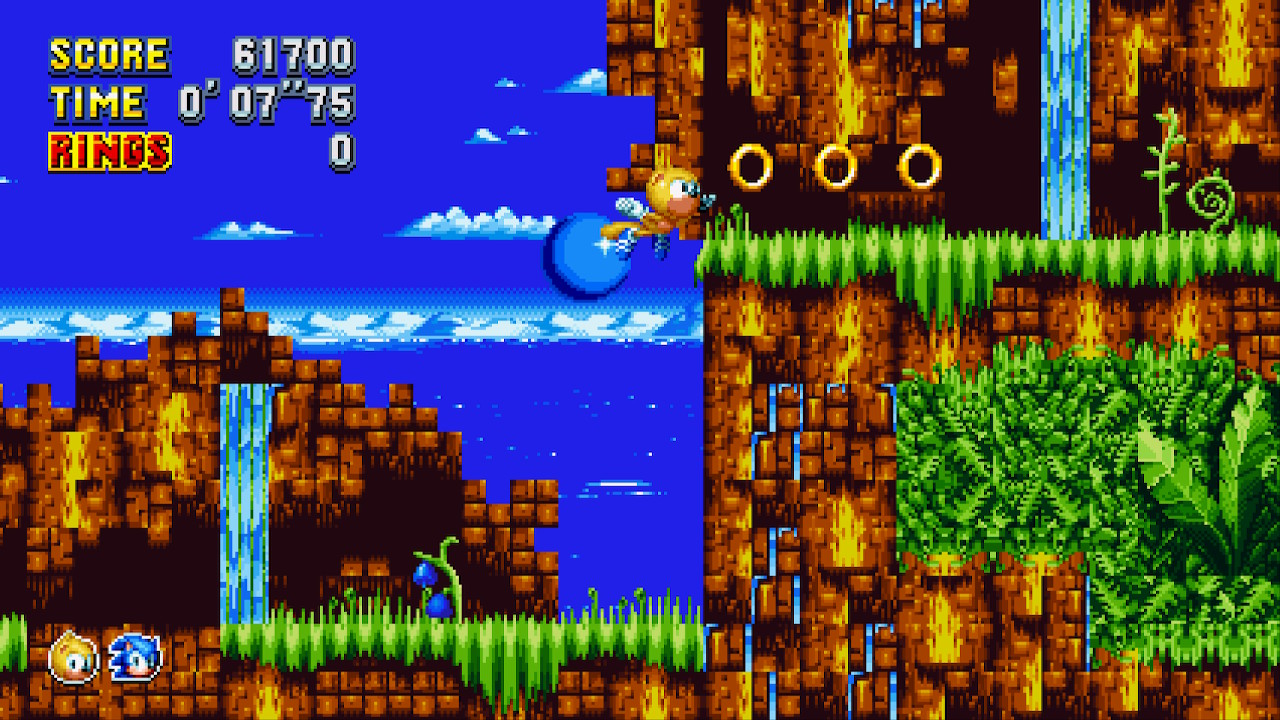
As for Mighty, pressing jump in midair makes him crash spectacularly to the ground. So it’s obvious what to do:
Smashing. And this way players learn about each character’s special moves without having to dig through a tutorial. Plus, you immediately get a sense of the characters' personalities. Ray is light and agile while Mighty is a powerhouse. And the game never really told you any of that!
A Pointy Bonus
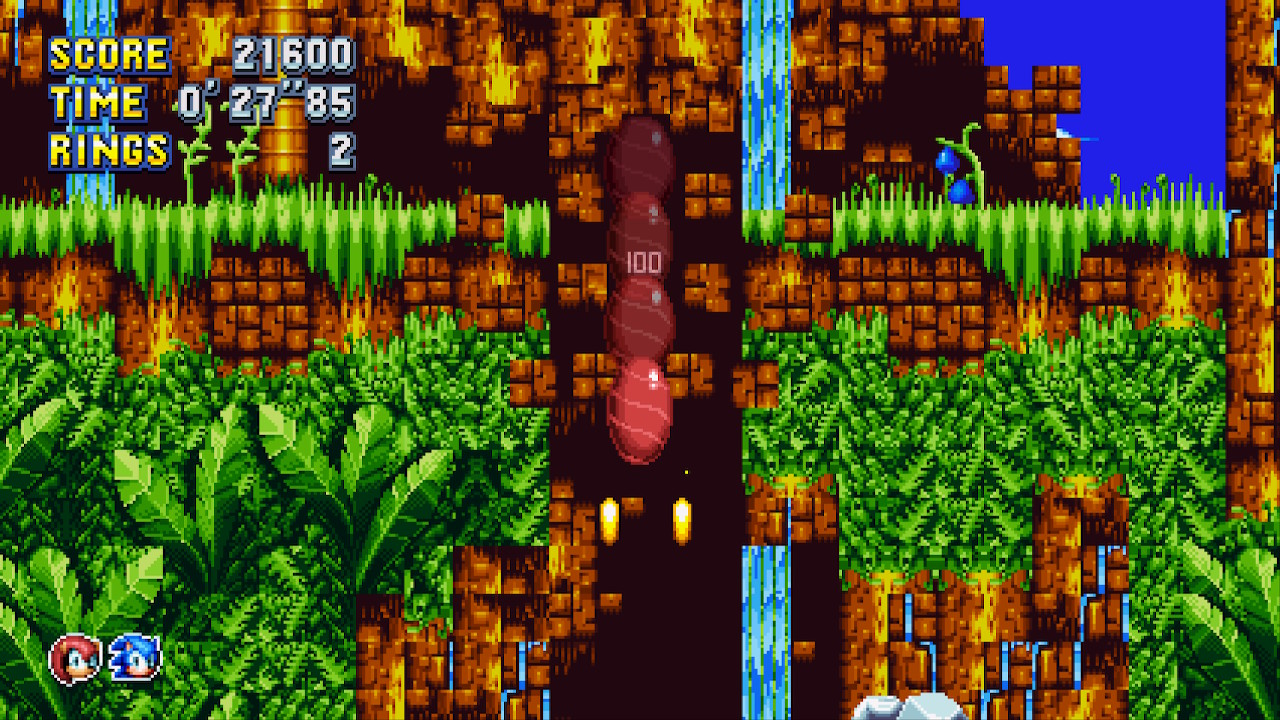
Oh and we’re actually not done yet: Once Mighty has crashed through the ground, you’ll find yourself in a dangerous situation:
You can only advance by spindashing through the rock wall, it’s the only way. However, this will inevitably drop you onto the spikes. It’s a real dick move by the designers. Right?
Well, if you try it you’ll find out that Mighty actually bounces off spikes without getting hurt! So that’s yet another skill you learned about simply by playing the game. The character is invulnerable to spikes; why tell players when you can just drop them onto spikes? Just like putting your hand on a hot stove, this way of learning is a lot more effective than just reading about it. And the presence of Sonic as a companion character underlines the lesson, as he will get hurt, thereby making clear that this new behavior is due to Mighty, not the spikes.
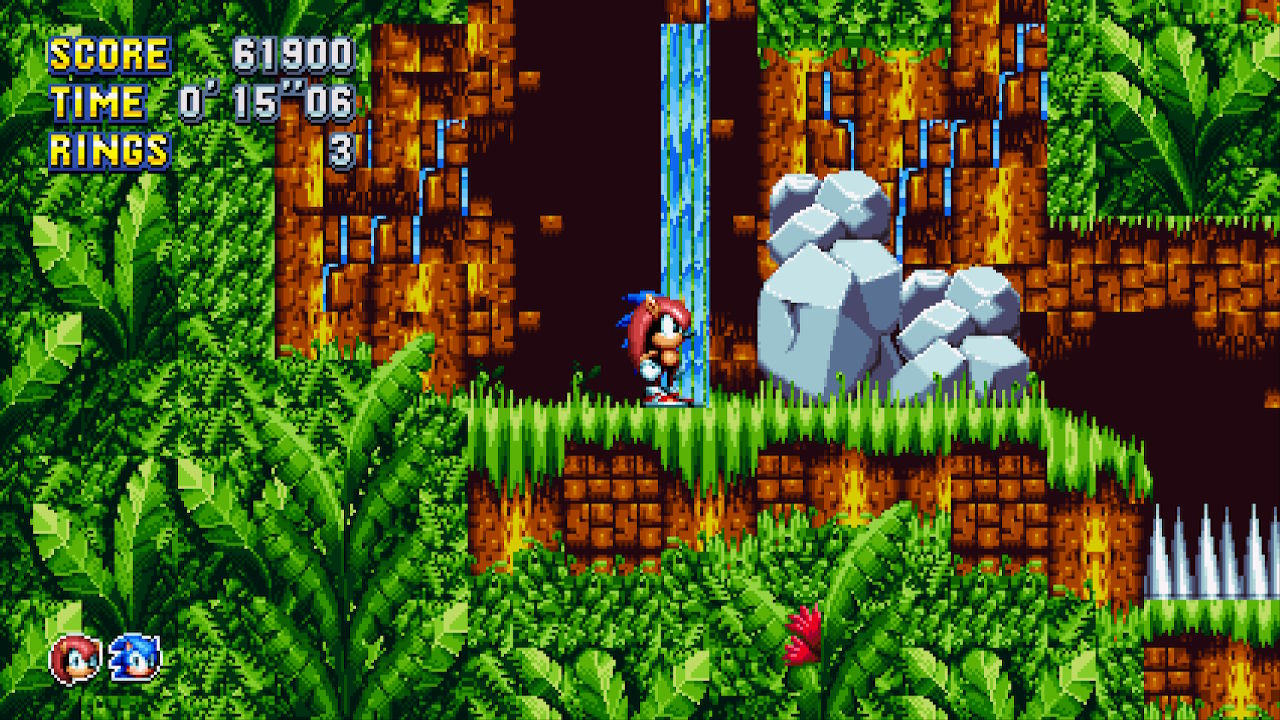
Oh and finally: The fact that you can see two paths but are only able to take one implies that the other path is reserved for the character you didn’t pick, giving you a clue about their special move. There’s just so much going on here!
Wrapping Up
Classic Sonic games are actually full of great level design tricks like this one and I’m very happy to see that this tradition is being carried on with Sonic Mania. If you’re a gamer I highly recommend giving it a spin and if you’re a budding level designer, try to analyze different aspects of the level designs! There’s a lot of neat stuff to find.
So what can we learn from Sonic Mania Plus' tutorial? I’d say we can extract the following lessons:
- Clearly show the path(s) forward. Mark them with pickups or something similar.
- Make the environment safe, so players can experiment.
- Make the path easily reachable once players discover the way to get to it. They’re not supposed to master it yet, just understand the basic functionality.
- Try to have a clear relation between action and reaction. Mighty bounces off spikes because he is special, not this particular set of spikes.
Is there anything I missed? Did you find any other cool stuff in Sonic Mania? Let me know in the comments below!

Want To Buy Me a Coffee?
Coffee rules, and it keeps me going! I'll take beer too, though.

Related Posts
Why Jank Is Not Always Bad
Parkouring ravens? Dogs stuck in walls? What’s not to love!
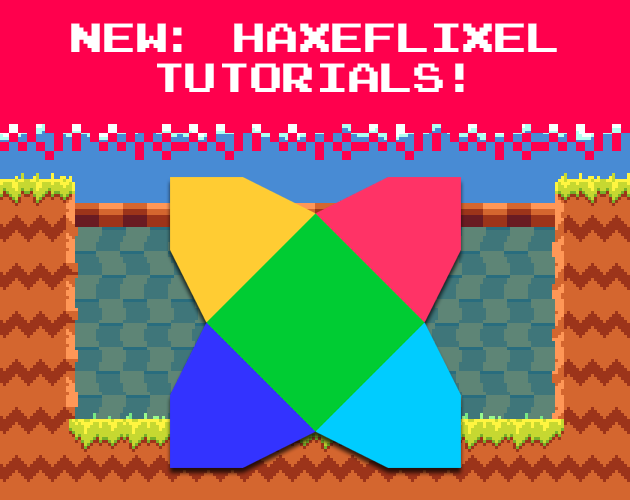
HaxeFlixel Tutorials!
If you’ve popped over to the tutorial section recently you might have noticed that I’ve added my very first HaxeFlixel tutorial! It shows how to implement a simple, pixel-perfect 2D water shader which I used for Go! Go! PogoGirl. But a few of you might be wondering what a HaxeFlixel is. Well, it’s a 2D game framework that is as powerful as it is underrated! It runs on the (also underrated) Haxe language, is extremely well documented, open source, and has built-in functions for almost anything you’d need.
Comments
By using the Disqus service you confirm that you have read and agreed to the privacy policy.
comments powered by Disqus