Learn how to make a top-down tile-based game for the Sega Mega Drive using SGDK!
Megatiler 5 - Coins
Welcome to part 5 of Megatiler! This time we’ll add some coins for players to collect, because it wouldn’t be an adventure game if you couldn’t find valuables scattered about everywhere, right?
We’ll once again use our tile-based system to spawn coins where we want, by simply setting a specific tile. But before we get to that, we’ll actually need a coin sprite! As usual, download it using this link…
Click to download the coin sprite
…extract the image file to your resources folder, then add it to the resources.res file like this:
SPRITE coin "coin.png" 1 1 NONE 20
As you can see from the image, a coin has two frames of animation, so we have to set the frame size, along with the animation speed.
With that out of the way, let’s dive into code. Define this new tile type at the top of main.c, next to SPAWN_TILE:
#define COIN_TILE 6
This tile number will define where a coin will spawn. There’s a reason we’re using 6 here instead of 5; We’ll soon add an exit to our map, and that will also require a tile number. We’ll give the exit the number 5, so that everything starting at 6 can be collectibles! We won’t actually add anything beyond coins in this tutorial, but if you decide to add other items you can just assign them the numbers after 6.
Next we’ll define a new struct that describes our coin. It’s essentially a cut-down version of our Entity struct and we could simply use Entity to create our coins as well. In a real game, that would probably be the best course of action too. However, I think it’s important to get used to working with structs, so we’ll make another one here just for the coins!
typedef struct
{
    Point pos;
    u8 w;
    u8 h;
    Sprite *sprite;
    u8 health;
} Coin;
You’ll see that the variables related to movement are missing, because the coins are just gonna sit around on the floor.
As we’re gonna have multiple coins per level, it makes sense to put them in an array so that we can deal with them more easily. Also, we should have a constant that specifies how many coins there are in a level. So, define these two outside of main():
#define MAX_COINS 3
Coin coins[MAX_COINS];
We’ll just go with 3 coins for now, as our levels are rather small. But since we’ll always be using MAX_COINS in our code, you’ll be able to easily change that number later on!
And that’s it for the setup. Now we have everything we need to spawn coins on our map!
Spawning the Coins
Obviously, we will handle the spawning in loadLevel(). We already have an if-statement checking for the player spawn tile, so let’s add another condition checking for a coin tile:
if (t == SPAWN_TILE){
//...
}
else if(t == COIN_TILE){
//Spawn a coin
}
Here’s how we’ll spawn the coins. Whenever the loop encounters a coin tile, we first check whether we’ve already reached the total number of coins. If not, we grab the next free slot in the array and spawn a coin entity at the correct position. And…that’s it actually! It’s not that complicated. However, we will need a helper variable to keep track of the coin count; and we’ll also need a pointer for the current coin in the array. So, before we start the for loop, define these new variables (after we define x,y and t):
u8 coinNum = 0;
Coin *c = coins;
Now for the actual spawning. The stuff I’ve just explained looks like this in code:
//...
else if(t == COIN_TILE){
    if(coinNum < MAX_COINS){
        c = &coins[coinNum];
        c->pos.x = x * TILESIZE;
        c->pos.y = y * TILESIZE;
        c->w = 8;
        c->h = 8;
        c->health = 1;
        c->sprite = SPR_addSprite(&coin, c->pos.x, c->pos.y, TILE_ATTR(PAL2, 0, FALSE, FALSE));
        coinNum++;
    }
}
Like with the player, we get the correct position in pixels by multiplying the tile coordinates with TILESIZE. A health value of 1 implies that the coin hasn’t been collected yet. It’s important to increment coinNum at the end, because otherwise we would just overwrite the same coin in the array over and over.
We’re almost done now, but there’s still one thing we need to take care of. Like with the player spawn tile, we have to tell SGDK to draw a regular grass tile below the coin; otherwise we’d get a gap! So put this after the closing bracket of the if(coinNum < MAX_COINS) statement:
VDP_setTileMapXY(BG_B, TILE_ATTR_FULL(PAL1, 0, FALSE, FALSE, 1), x, y);
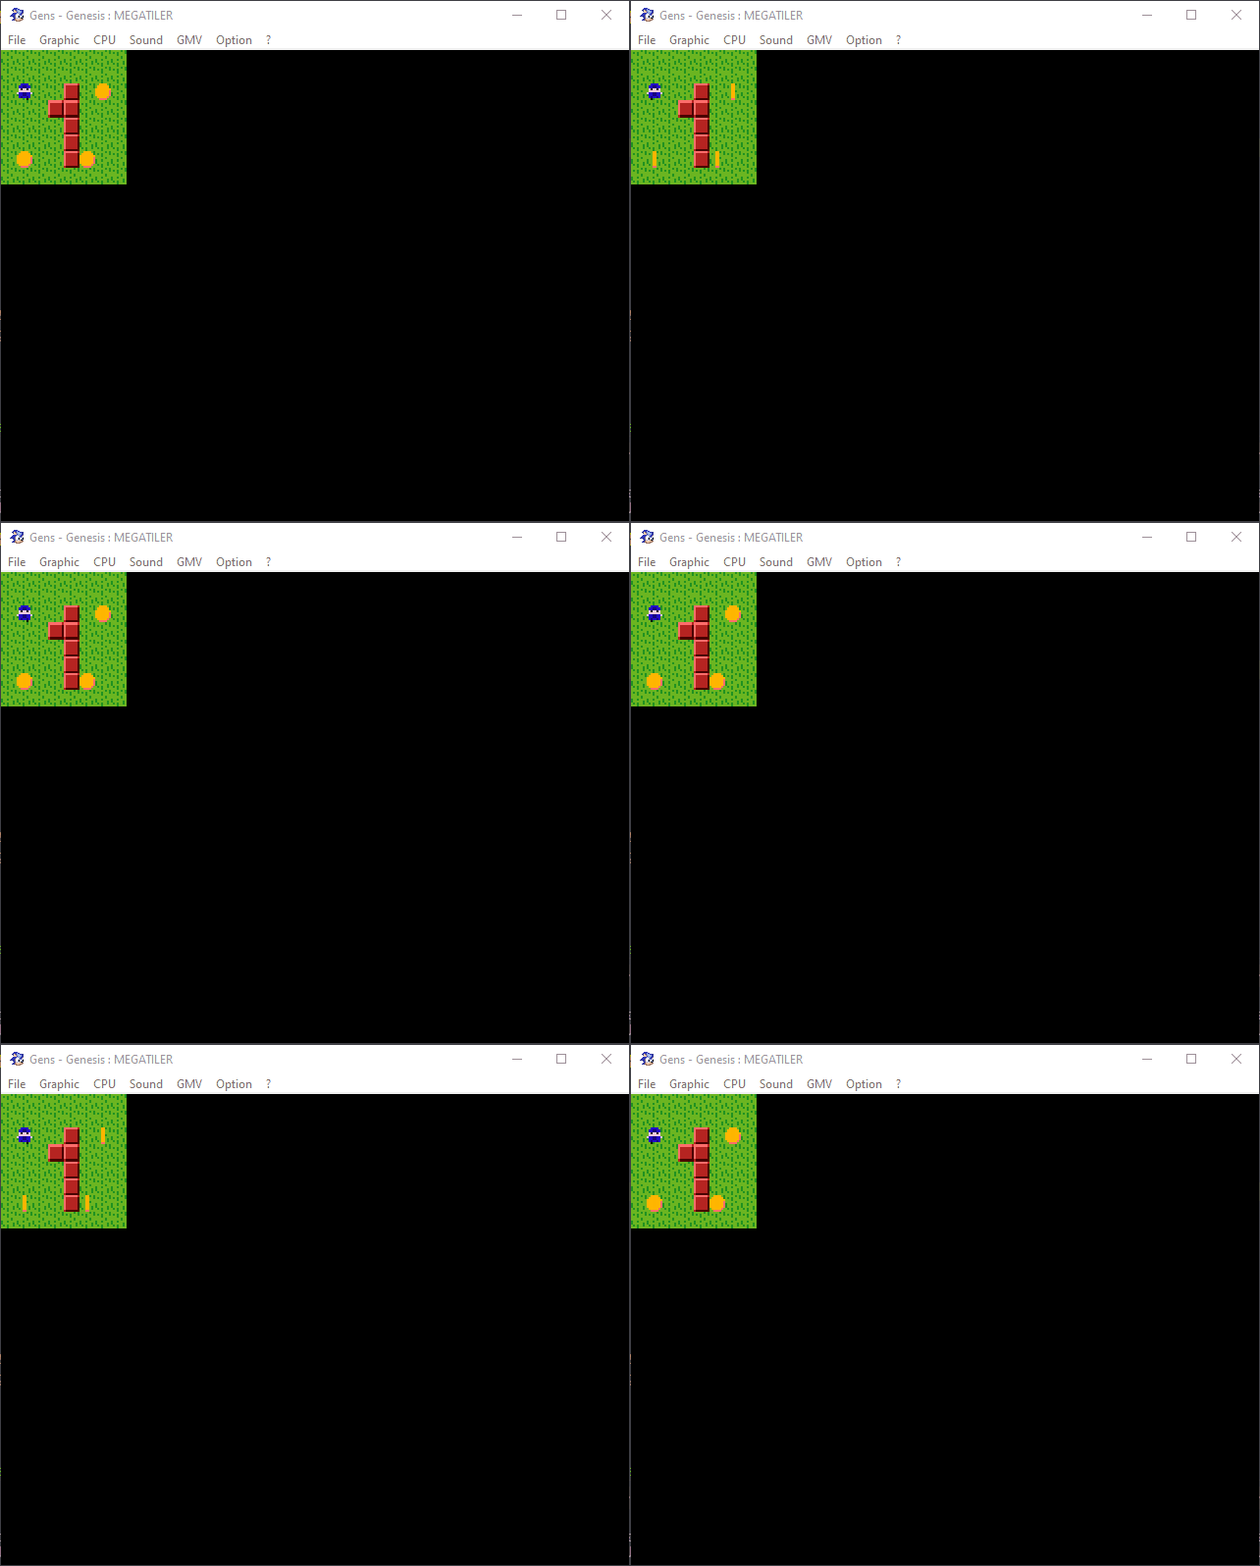
And there we go! Now place up to 3 coins in your map (using the tile index 6), compile the game and marvel at the beauty of gold:

Collecting Coins
But coins are no fun if you can’t collect them, so let’s take care of that. We could handle this similarly to the wall collisions and just compare the tile positions of the player and the coins to see if the player has landed on a tile with a coin. However, we’re going to use a more precise approach and use regular AABB collision detection to check for collisions each frame. This has the advantage that we could theoretically create moving coins, and the collision detection would still work, even if a coin is currently between tiles.
As we want to check for collisions each frame, we’ll add the relevant code in the while(1) loop. However, we’ll need a helper variable that we define directly before the loop starts:
Coin* coinToCheck;
As the name implies, this variable will point to the coin we’re currently checking collisions for.
Now let’s get to the actual collision checks. In while(1), after the code dealing with player movement, add this:
u8 i=0;
//Check for coins
for (i = 0; i < MAX_COINS; i++)
{
    coinToCheck = &coins[i];
    if ((player.pos.x < coinToCheck->pos.x + coinToCheck->w && player.pos.x + player.w > coinToCheck->pos.x && player.pos.y <   coinToCheck->pos.y + coinToCheck->h && player.pos.y + player.h > coinToCheck->pos.y) == TRUE)
	{

	}
}
We iterate through the coins array and point coinToCheck to the current coin. Then we check if it overlaps the player sprite by comparing their positions. This is a regular AABB check we’ve also used in Megapong.
But what should happen when there is an overlap? For now, we’ll simply make the coin disappear:
if (coinToCheck->health > 0)
{
    coinToCheck->health = 0;
    SPR_setVisibility(coinToCheck->sprite, HIDDEN);
}
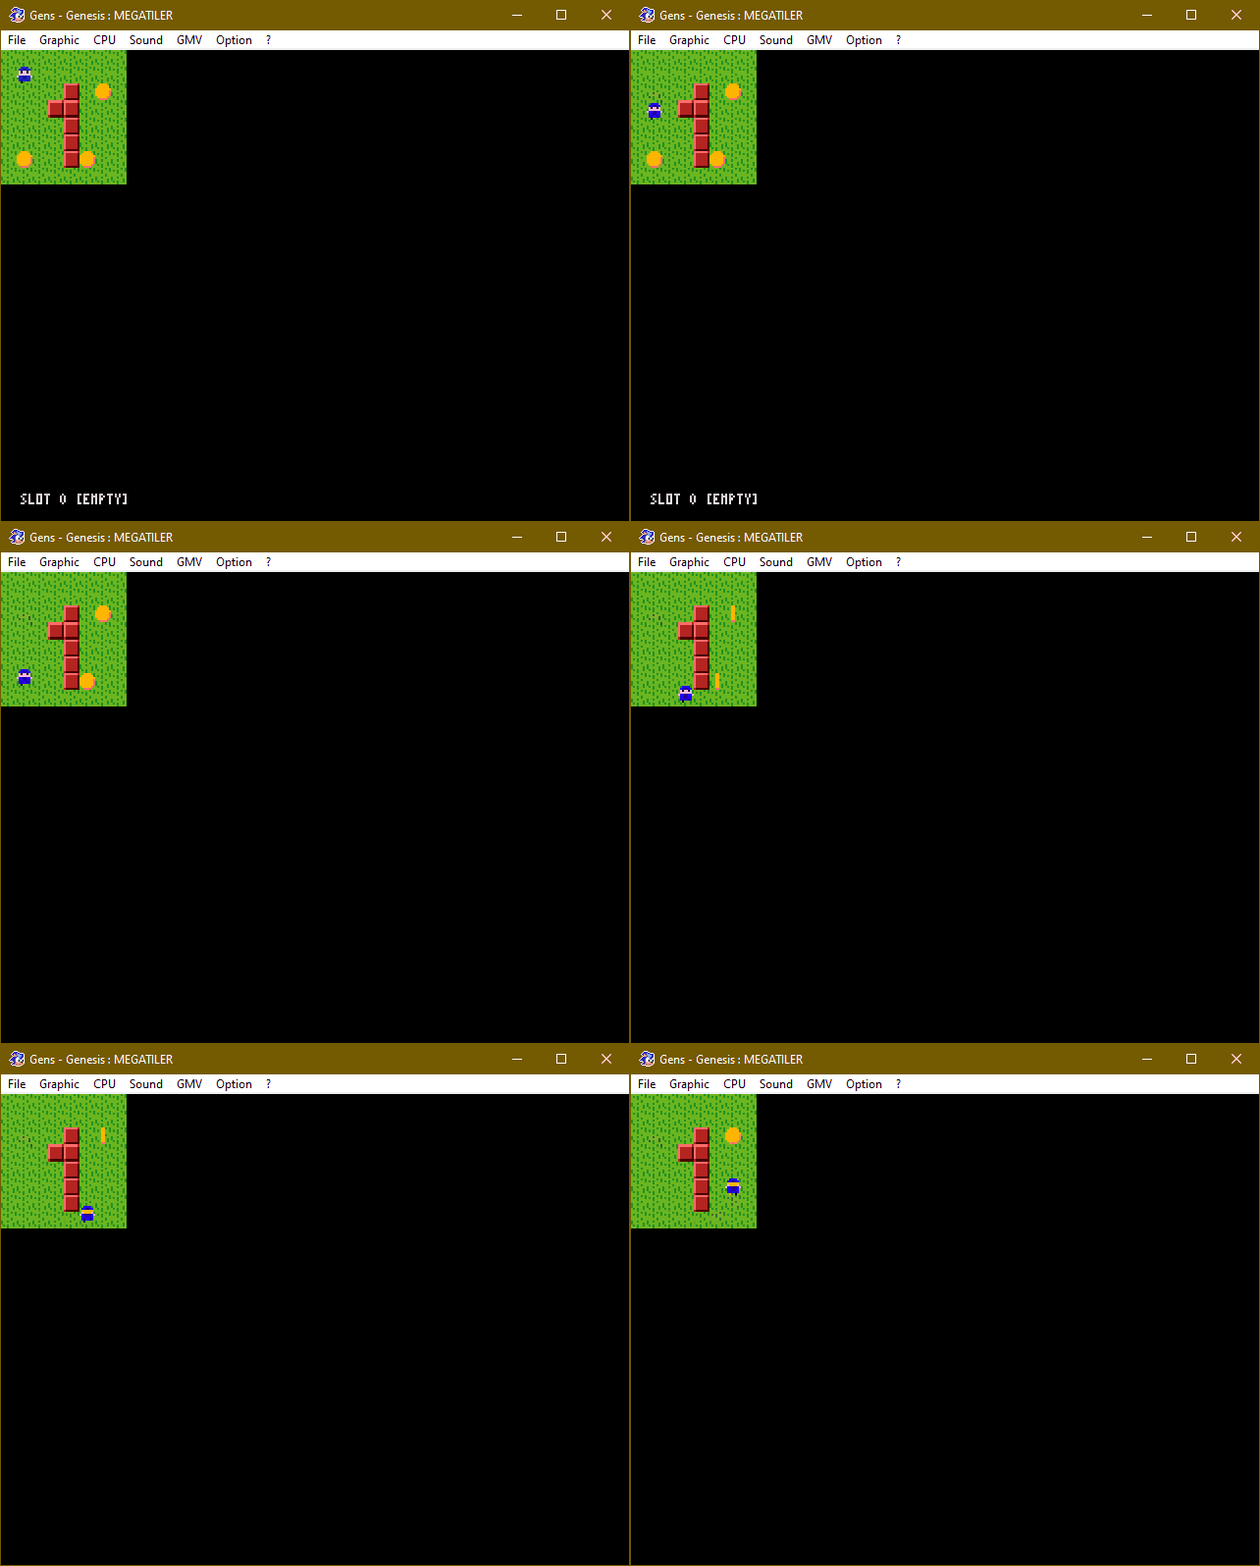
Now try it out! Compile the game and collect some cash:

And there we go! Now our player has something to collect. Of course the coins don’t do anything yet; they don’t even give the player points. In the next part we’ll fix that! Until then, be excellent to each other and party on!
If you've got problems or questions, join the official SGDK Discord! It's full of people a lot smarter and skilled than me. Of course you're also welcome to just hang out and have fun!
Download the Project Files!
All patrons on Patreon get the complete source code for this tutorial, as well as other perks such as early access! And Patreon support also ensures that I can keep working on tutorials like this one. Become a Patron!Just Want to Buy Me a Coffee?
Check out the rest of this tutorial series!
Comments
By using the Disqus service you confirm that you have read and agreed to the privacy policy.
comments powered by DisqusRelated Posts
HaxeFlixel Tutorials!
If you’ve popped over to the tutorial section recently you might have noticed that I’ve added my very first HaxeFlixel tutorial! It shows how to implement a simple, pixel-perfect 2D water shader which I used for Go! Go! PogoGirl. But a few of you might be wondering what a HaxeFlixel is. Well, it’s a 2D game framework that is as powerful as it is underrated! It runs on the (also underrated) Haxe language, is extremely well documented, open source, and has built-in functions for almost anything you’d need.
Streets of Was
As I’m sure many of you will remember, the original Streets of Rage for the Mega Drive had multiple endings. The real canonical ending has you beat the crap out of Mr. X, thereby ending his reign of terror forever (yeah, right). However, if you confronted Mr. X with a buddy in tow, a new possible path unlocked. A quick refresher is in order. When you confront Mr. X he will ask you to join his organization.
Streets of Rage 2 Design Docs
A few years ago, Yuzo Koshiro posted a pile of old game design documents for Bare Knuckle 2 aka Streets of Rage 2 on the Ancient blog to commemorate the release of Streets of Rage 2 3D on the Nintendo 3DS. These documents gave a deep insight into the game’s inner workings, technical aspects, designs and even some cut content. They were an awesome resource for one of the most awesome games ever created.


