Learn how to make a top-down tile-based game for the Sega Mega Drive using SGDK!
Megatiler 6 - HUD, Sound and Making an Exit
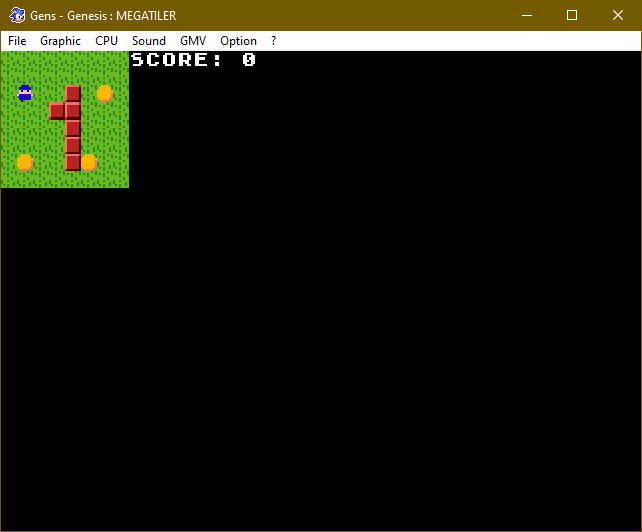
We have coins now, but they don’t do anything. Let’s make them do things, like unlocking the level exit! And let’s also add some sound, because why not.
HUD
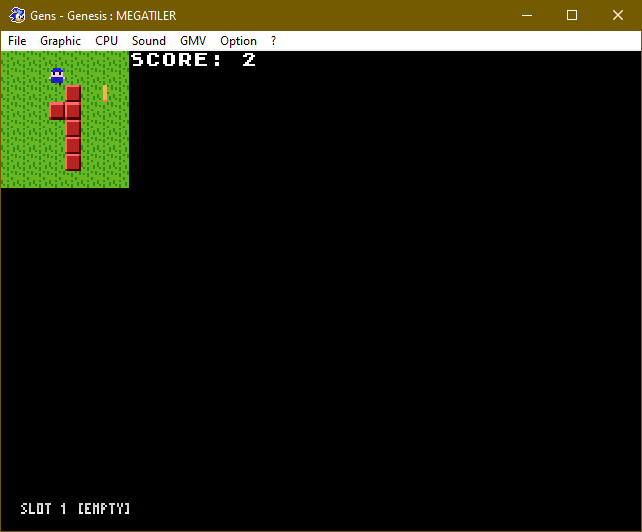
First, we’re gonna put a HUD on the screen so that we can display how many coins the player has collected. We’ll go with a simple string that’s displayed next to the game area.
First, we need two variables defined outside of main to help us out. The first one is to keep track of how many coins we’ve collected; the other will hold the string that we display on screen.
u8 coinsCollected = 0;
char hud_string[10] = "";
Next, we’ll write a simple function that updates the hud_string and displays it on screen:
void updateScoreDisplay()
{
    sprintf(hud_string, "SCORE: %d", coinsCollected);
    VDP_clearText(8, 0, 10);
    VDP_drawText(hud_string, 8, 0);
}
As you can see, we’ll simply draw the label SCORE to the screen, followed by the number of coins the player has collected. We need to clear the line of text before we redraw it to prevent any leftovers. It’s rather simple stuff.
Okay, so now we just need to do two things: Update coinsCollected and call our function. It makes sense to do these things in the main game loop, when we’re checking for collisions with the coins. So head on over to while(1) and add these two lines after we’ve set the coin’s health to 0 and made it invisible:
coinsCollected++;
updateScoreDisplay();
And finally, call updateScoreDisplay() one more time before the main loop starts, so that a score of 0 is displayed from the beginning of the game. And that’s it!
Sound
Our game is a bit quiet, so let’s quickly add some sounds. First, download the soundpack:
Click here to download the sounds
There are two sounds in there: One for collecting a coin, the other for unlocking the exit. Unzip them both into your resources folder and import them by adding these lines to the resources.res file:
WAV sfx_coin "coin.wav"
WAV sfx_unlock "unlock.wav"
Now let’s create two defines so that we can quickly access these sounds in the game:
#define SFX_COIN 64
#define SFX_UNLOCK 65
Remember that the indexes up to 63 are reserved for music tracks by the sound driver, that’s why we’re starting at 64! (Incidentally, if you want more details on playing sound effects, check out the Megalaga Tutorial.)
Next we’ll load the sounds into the game using these two lines at the beginning of main:
XGM_setPCM(SFX_COIN, sfx_coin, sizeof(sfx_coin));
XGM_setPCM(SFX_UNLOCK, sfx_unlock, sizeof(sfx_unlock));
Now we just need to play the sounds! The first sound is meant to play when the player collects a coin, so we’re gonna put this in the coin collision checks. Right after doing coinsCollected++, play the sound using the line:
XGM_startPlayPCM(SFX_COIN, 1, SOUND_PCM_CH2);
Note: You might get weird sound glitches when running the game in Gens, but things should sound fine in Blastem. I’m not exactly sure what’s going on, it’s still a bit too technical for me to comprehend (but you know I’m gonna make a post about it once I figure it out!).
And now we’ll get a nice ting sound whenever the player collects a coin! We’ll take care of the exit unlocking sound in a minute, because first, we actually have to create an exit!
(But if you want to add music to the game as well, I’ve got a tutorial on that right here!)
Making an Exit
Right now we can keep track of how many coins the player has collected, giving the coins at least some kind of purpose. However, let’s make them more important by having them unlock the exit to a level!
Also, let’s add an exit to the level.
This time we don’t need a new graphic, as the tileset we’re using for the floor and walls already has an exit graphic in it. Let’s create a new tile definition so that we can place it in the game:
#define EXIT_TILE 5
As I mentioned in the previous post, we’re giving the exit the ID 5, so that anything after that can be used for items and such. Now place a single exit somewhere in your map. Also, add two helper variables outside of main:
Point exitLocation = { 0 , 0 };
bool exitUnlocked = FALSE;
The first one is a Point struct and will store the position (in tiles) of the exit. The second variable will simply keep track of whether the exit is unlocked or not.
Next, let’s actually spawn the exit. As we’ve done previously, we’ll do this by adding another else if statement in the loadLevel function.
//Code that checks for spawn and coin tiles
//...
else if (t == EXIT_TILE)
{
    exitLocation.x = x;
    exitLocation.y = y;
    VDP_setTileMapXY(BG_B, TILE_ATTR_FULL(PAL1, 0, FALSE, FALSE, 1), x, y);
}
Remember that we’re iterating through the map, so x and y contain the current tile coordinates of the tile we’re checking. If we’ve stumbled upon an exit tile, we store the position in exitLocation and tell SGDK to draw a simple grass tile where the exit should be. We’re doing this because the exit will remain invisible until it’s unlocked. (Of course you could also create a “closed” graphic for the exit and draw that instead.)
So far so good, but nothing is really happening yet. Let’s write a function that actually unlocks the exit and makes it visible!
void unlockExit()
{
    exitUnlocked = TRUE;
    VDP_setTileMapXY(BG_B, TILE_ATTR_FULL(PAL1, FALSE, FALSE, FALSE, 3), exitLocation.x, exitLocation.y);
    XGM_startPlayPCM(SFX_UNLOCK, 1, SOUND_PCM_CH2);
}
As you can see, it does three simple things: It sets exitUnlocked to TRUE and uses VDP_setTileMapXY to change the tile where the exit is to index 3, which is the index where our exit tile is saved in VRAM. Finally, it makes a nice sound letting the player know the exit has appeared!
Now, where do we call this function? Well, since coins unlock the exit, let’s put it inside the coin collision checks again. After the score stuff we did a minute ago, add these lines:
//...
if(coinsCollected == MAX_COINS){
    unlockExit();
}
And done! Now the exit should show up once all the coins have been collected. However, before we wrap up, let’s take care of one more thing while we’re still working in the main game loop. Above the code you just added, you’ll find the lines:
if (player.pos.x % TILESIZE == 0 && player.pos.y % TILESIZE == 0)
{
    player.moving = FALSE;
}
We added this code when we implemented player movement, and the if-condition is true when the player sprite has reached a new tile. This is the perfect place to check whether the player has stopped on the exit tile! So, add the following if-statement after player.moving = FALSE:
//Landed on the exit?
if (exitUnlocked == TRUE && player.tilePos.x == exitLocation.x && player.tilePos.y == exitLocation.y)
	//Do things
}
The code is rather self-explanatory; we just check if the exit is unlocked, and whether the player has stepped on it.
And we are done! Compile the game, collect all coins and you should see the exit appear.
But of course, nothing yet happens! So, in the next part of this series, we’ll make something happen. For that we’ll need to create some more levels and rework some of our code so that we can load the next level once the player has reached the exit. Stay tuned, because it’s gonna be a big one! Be excellent to each other, and party on!
If you've got problems or questions, join the official SGDK Discord! It's full of people a lot smarter and skilled than me. Of course you're also welcome to just hang out and have fun!
Download the Project Files!
All patrons on Patreon get the complete source code for this tutorial, as well as other perks such as early access! And Patreon support also ensures that I can keep working on tutorials like this one. Become a Patron!Just Want to Buy Me a Coffee?
Check out the rest of this tutorial series!
Comments
By using the Disqus service you confirm that you have read and agreed to the privacy policy.
comments powered by DisqusRelated Posts
HaxeFlixel Tutorials!
If you’ve popped over to the tutorial section recently you might have noticed that I’ve added my very first HaxeFlixel tutorial! It shows how to implement a simple, pixel-perfect 2D water shader which I used for Go! Go! PogoGirl. But a few of you might be wondering what a HaxeFlixel is. Well, it’s a 2D game framework that is as powerful as it is underrated! It runs on the (also underrated) Haxe language, is extremely well documented, open source, and has built-in functions for almost anything you’d need.
Streets of Was
As I’m sure many of you will remember, the original Streets of Rage for the Mega Drive had multiple endings. The real canonical ending has you beat the crap out of Mr. X, thereby ending his reign of terror forever (yeah, right). However, if you confronted Mr. X with a buddy in tow, a new possible path unlocked. A quick refresher is in order. When you confront Mr. X he will ask you to join his organization.

Streets of Rage 2 Design Docs
A few years ago, Yuzo Koshiro posted a pile of old game design documents for Bare Knuckle 2 aka Streets of Rage 2 on the Ancient blog to commemorate the release of Streets of Rage 2 3D on the Nintendo 3DS. These documents gave a deep insight into the game’s inner workings, technical aspects, designs and even some cut content. They were an awesome resource for one of the most awesome games ever created.