Megatiler 2 - Spawning the Player
NOTE:
This tutorial is most likely not compatible with versions of SGDK above 1.70.
Unfortunately, I simply do not have the capacity or ability to update them right now. Read more about it here. Sorry.

A nice level is pointless if we can’t actually be in it. So this time we’ll spawn our player character and learn how to implement special function tiles in the process!
Spawning the Player
Once again we first start by getting the assets for the player character ready. Download the spritesheet below:
Click HERE to download the player spritesheet
Feel free to take a look at it before putting it in your res folder. You’ll see that our character is drawn in 3 different directions, with each direction having two frames of animation. Each frame is 8x8 pixels, just like our tiles.
Let’s invite him to our game! But first, we need to set some things up.
As always, we’ll have to add the spritesheet to the resources file so that SGDK knows to import it:
SPRITE spr_player "player.png" 1 1 NONE 20
As the sprite has animation, we set a framerate of 20.
Like in Megalaga, we will use an Entity struct to make creating and handling entities easier. But before that, create another struct:
typedef struct{
    u8 x;
    u8 y;
} Point;
We’ll be working a lot with coordinates, so having a Point struct is slightly more convenient than defining separate x and y variables for each entity.
Speaking of which, now define the type Entity outside of the main function:
typedef struct
{
    Point pos;
    Point tilePos;
    int w;
    int h;
    int health;
    bool moving;
    moveDirection dir;
    Sprite *sprite;
    char name[6];
} Entity;
As you can see, we’re using a Point struct to store our position. And apart from the regular pos variable, which stores the entity’s position on the screen in pixels, we also have tilePos, which stores the position of the entity in tiles. That will come in handy later. We also have two variables related to movement, one of which is of type moveDirection. What kind of type is that, you ask? Well, it’s an enum that we will define right now!
typedef enum {up,down,left,right,none} moveDirection;
It’s rather self-explanatory and we’ll see it in action soon enough.
So that’s our Entity struct taken care of. Now, how do we get a player on the screen? There are basically two ways.
Spawning the Player
We could simply spawn the player manually by creating an Entity at a specified position. However, we’re working with tiles here, so let’s use that to our advantage! Instead of manually adding a player, we will instead add a spawn tile to our level map and let the game spawn the player there. For the spawn tile we will use the index 4. To make things easier to read, let’s define this value:
#define SPAWN_TILE 4
The value 4 is arbitrary, by the way, you could pick any number you want. And while we’re at it, also define these values:
#define TILESIZE 8
#define MAP_WIDTH 8
#define MAP_HEIGHT 8
The first is the size of one of our level tiles, which in our case is 8. The other two specify the width and height of the complete map in tiles, which, in our case, is also 8. You can of course set the map size to something else, and it doesn’t have to be square at all.
Now put a 4 somewhere in your level array, it doesn’t matter where.
Time to update our loadLevel function so that it also spawns the player. First, we’ll have to change its structure a bit:
//...
SPR_init();
for(y = 0; y < MAP_HEIGHT; y++){
    for (x = 0; x < MAP_WIDTH; x++){
        t = level1[y][x];
        if (t == SPAWN_TILE){
            //Spawn the player
        } else{
            VDP_setTileMapXY(BG_B, TILE_ATTR_FULL(PAL1, 0, FALSE, FALSE, t + 1), x, y);
        }
    }
}
This is where it gets interesting. Now we start checking each tile in the map and deal with it accordingly. If the tile isn’t anything special, we simply draw it to the screen. So far so good. Now, how do we spawn our player?
First of all, we actually need a player entity. So, create it outside of main():
Entity player = {{0, 0}, {0, 0}, 8, 8, 0, FALSE, none, NULL, "PLAYER"};
Then head into loadLevel, specifically into the if (t == SPAWN_TILE){ ... } statement. Here we’ll have to do a few things.
First, pass in the current tile coordinates into the player, so that the entity knows where it is.
player.tilePos.x = x;
player.tilePos.y = y;
Then set the position of the entity in pixels, which will be stored inside pos. We can extrapolate the pixel position by multiplying the tile position with TILESIZE:
player.pos.x = player.tilePos.x * TILESIZE;
player.pos.y = player.tilePos.y * TILESIZE;
Then, finally, we create the actual player sprite at the position we just specified:
player.sprite = SPR_addSprite(&spr_player, player.pos.x, player.pos.y, TILE_ATTR(PAL2, 0, FALSE, FALSE));
A note on the positioning: You might wonder why we bother keeping track of pos and tilePos separately, when they are so easy to convert back and forth. The first reason is performance. When you’re working with retro hardware, it’s best to do as little math as possible, especially when you’re talking about multiplication and division. But I also find it more convenient to keep track of both positions separately, and you’ll soon see why. Or maybe you’ll disagree, I don’t know.
Anyway, we’re not quite done yet. The code we’ve written will add our player to the stage at the right position, but we’ve forgotten something: The tile. Due to the way loadLevel is structured now, it won’t actually draw a tile on screen; and even if it did, it would try to draw the tile graphic with index 5 (remember, our spawn tile has the value 4) which doesn’t exist. As we want the player to spawn on an empty tile (i.e. grass), we simply draw one after we’ve added the player:
VDP_setTileMapXY(BG_B, TILE_ATTR_FULL(PAL1, 0, FALSE, FALSE, 1), x, y);
And we’re still not quite done yet. Most importantly, we need to call SPR_update() in our main game loop before SYS_doVBlankProcess(). But we also need to load the palette for our player, otherwise he’ll look all wrong! Do so after loading the palette for the tiles, so you end up with this:
VDP_setPalette(PAL1, floortiles.palette->data);
VDP_setPalette(PAL2, spr_player.palette->data);
Once again we’re using a separate palette for sprites, even though we won’t actually be using that many colors. But personally, I’m happy whenever I don’t have to micro-manage my palettes…
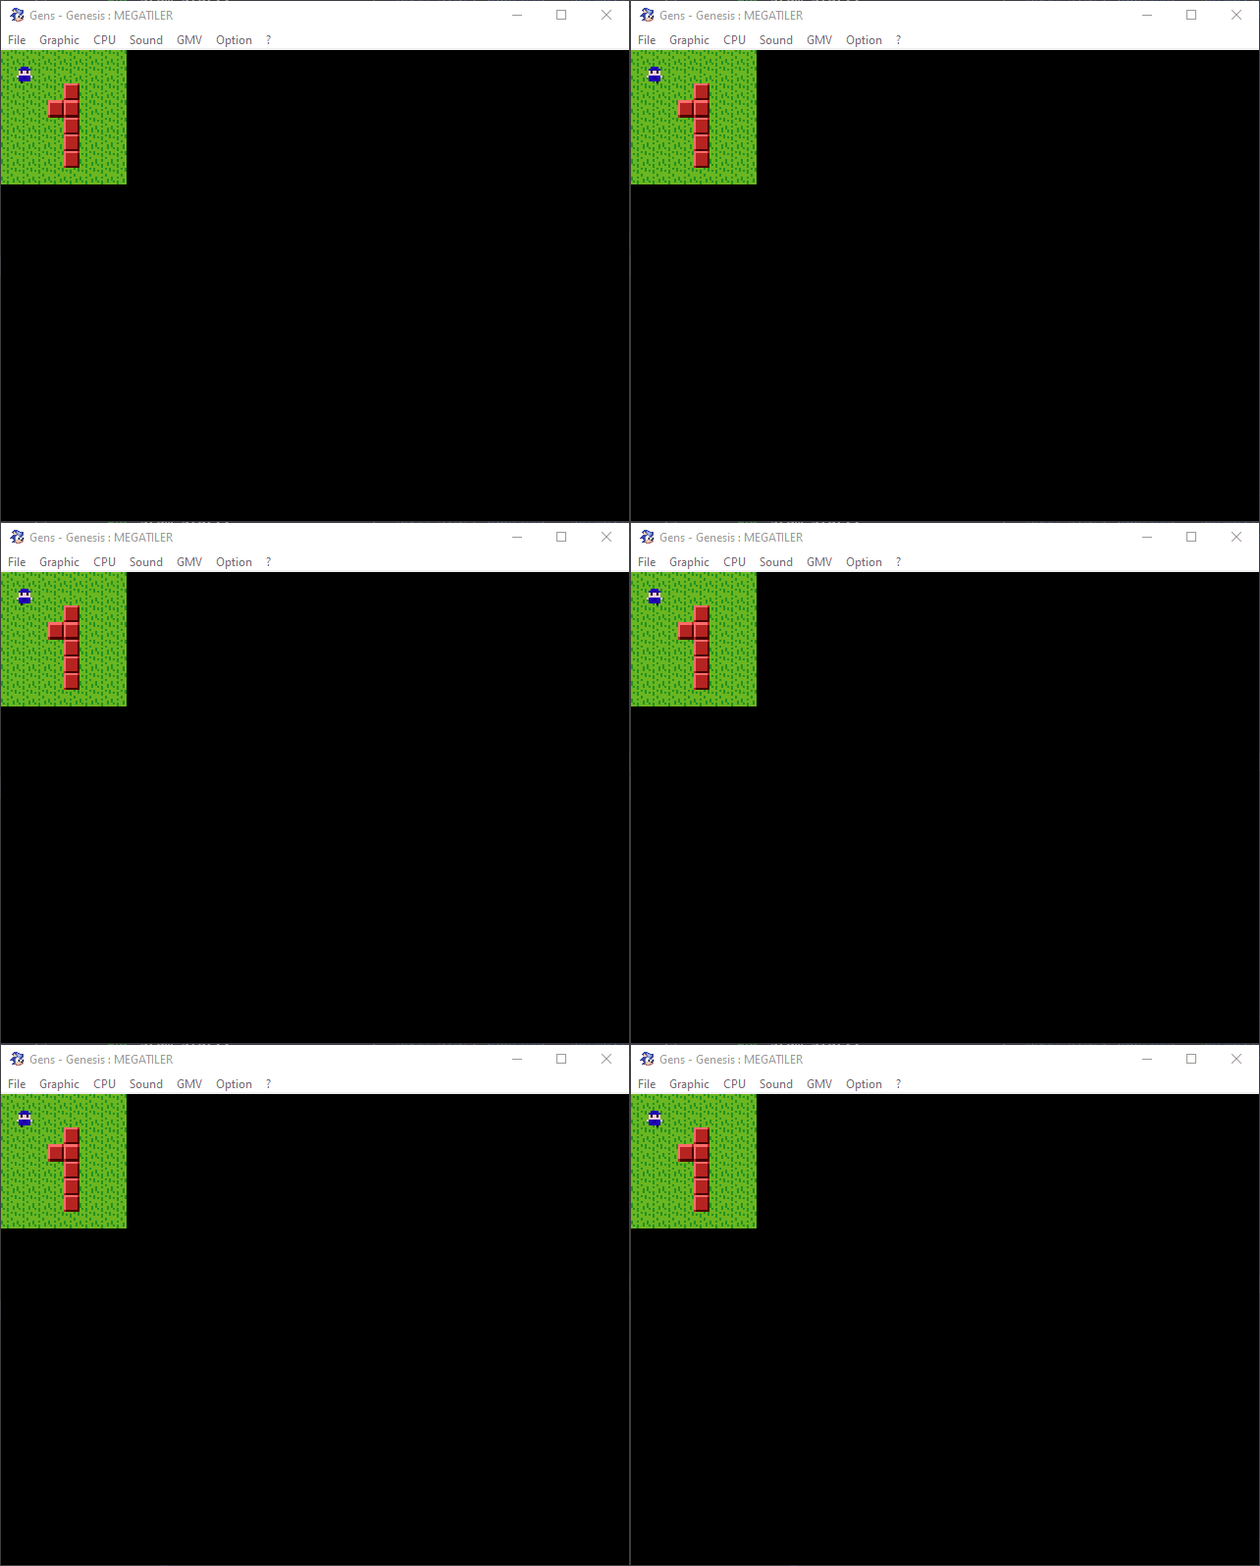
And there we go! Compile the game and you’ll see our player anxiously standing on a grass tile, eager to explore the world! Or maybe he just really has to pee.

If you've got problems or questions, join the official SGDK Discord! It's full of people a lot smarter and skilled than me. Of course you're also welcome to just hang out and have fun!

Want To Buy Me a Coffee?
Coffee rules, and it keeps me going! I'll take beer too, though.

Check out the rest of this tutorial series!
Comments
By using the Disqus service you confirm that you have read and agreed to the privacy policy.
comments powered by Disqus