Megatiler 7 - Loading Levels
NOTE:
This tutorial is most likely not compatible with versions of SGDK above 1.70.
Unfortunately, I simply do not have the capacity or ability to update them right now. Read more about it here. Sorry.


Welcome back! This time we’ll add more levels to our game and learn how to load the next one once the player has reached the exit!
This will require restructuring some of our code, so watch out. We could of course have coded the game like this from the beginning, but I wanted to start out simple so that we could focus on how tilemaps work.
Dealing With Multiple Levels
Here’s the theory on how this is gonna work. Instead of having a single level array (in our case, level1), we’ll have multiple arrays, one for each level. Then we will create a pointer that will store the reference to the level that we currently want. That way, we can use the same code to load tiles, spawn entities etc. for each level; we just have to point the pointer at a new level array!
Let’s start implementing this in code. First of all, we’ll create a new typedef (outside main) so we have less to type:
typedef u8 map[MAP_HEIGHT][MAP_WIDTH];
As you can see, this new map type is simply a two-dimensional array containing integers, meaning that we will save all our levels as a map variable.
Also, create a new define to store how many levels we’ll have:
#define LEVEL_NUM 3
And now, let’s actually create some levels! I’ve added two more, but you can of course create even more (or less); just remember to update LEVEL_NUM accordingly.
map level2 = {
    {0, 0, 0, 6, 0, 0, 0, 0},
    {0, 0, 0, 0, 0, 0, 0, 0},
    {0, 4, 0, 1, 1, 1, 0, 0},
    {0, 0, 0, 6, 0, 1, 0, 0},
    {0, 0, 0, 1, 1, 1, 6, 0},
    {0, 0, 0, 1, 0, 0, 0, 0},
    {0, 0, 0, 1, 1, 1, 5, 0},
    {0, 0, 0, 0, 0, 0, 0, 0}
};

map level3 = {
    {0, 0, 0, 0, 0, 0, 0, 0},
    {0, 0, 1, 1, 1, 1, 0, 0},
    {0, 0, 0, 0, 6, 1, 0, 0},
    {0, 0, 0, 1, 1, 1, 6, 0},
    {0, 0, 0, 0, 0, 1, 0, 0},
    {0, 6, 1, 1, 1, 1, 0, 0},
    {0, 4, 0, 0, 0, 0, 5, 0},
    {0, 0, 0, 0, 0, 0, 0, 0}
};
As you can see, now we can simply type map instead of having to manually define a new array each time. Nifty! Also, don’t forget to change level1 for consistency.
Now that we have our levels, we need to create the pointer that will point to the current level. We will also create a static integer that will store the current level index, as well as an array of map pointers that will serve as our level list:
u8* currentLevel;
static u8 currentLevelIndex = 0;
map* levelList[3];
At the start of the game, the first entry in levelList will be loaded, meaning currentLevel will point towards it. Once the player has reached the exit, currentLevel will be pointed to the next entry in levelList, until there are no more levels left.
But our levelList is currently empty, so let’s fill it with the levels we made. Do this in main before we call loadLevel:
levelList[0] = level1;
levelList[1] = level2;
levelList[2] = level3;
So far so good! Now we have a list of levels and a pointer we can use to access them. Let’s get to loading these levels!
…but wait a second; there is one thing we need to consider. Once the player has reached the exit, the next level should be loaded…but that also means that the previous level needs to be unloaded, otherwise you’ll have two levels on top of each other (and eventually a pile of memory issues). So, let’s create a function that will clear the current level before we load the next one:
void clearLevel(){
    VDP_clearPlane(BG_B, TRUE);
    VDP_clearSprites();
    coinsCollected = 0;
    updateScoreDisplay();
    exitUnlocked = FALSE;
}
As you can see, first we’re clearing the plane that contains all our tiles. The second argument of the function tells SGDK to finish the operation before returning; if we don’t do this, we might run into DMA issues.
Next, we clear all the sprites from memory, reset the coin counter (and update the HUD so that it shows 0 again) and lock the exit again.
Now, let’s jump into loadLevel to use all this fancy stuff we just created! At the beginning of the function, add:
void loadLevel(){
    clearLevel();
    currentLevel = levelList[currentLevelIndex];
    //...
}
First, we make sure that the current level is cleared before we get the next one. Then we point currentLevel at the current level in levelList (which by default is 0). So far so good!
Now we need to change the big for-loop that processes all our tiles. Instead of looping through all rows and columns separately, we’ll just iterate through the whole thing. So, change it so the beginning of the loop looks like this:
u8 i = 0;
u8 total = MAP_HEIGHT * MAP_WIDTH;

for (i = 0; i < total; i++){
    t = level1[y][x];
    //...
}
Note: Don’t forget that you have to remove one closing curly bracket, as now we only have one for-loop!
Next, we have to edit the line t = level1[y][x];. Obviously we’ll need to rewrite it so the for-loop gets the tiles from currentLevel. Let’s do that:
t = *(currentLevel + i);
Pointers are great but a bit confusing sometimes, aren’t they? Here, we’re following where currentLevel is pointing at, which is the beginning of the current level; and since our levels are just arrays, currentLevel is pointing at the first entry (a tile) of that array. By adding i each iteration we shift currentLevel towards the next tile in line. That way we can get each tile of a level, store it in t and then process it as usual.
But wait! We’re still using x and y, although these values are no longer used in the loop condition. That means we have to manually increment them, otherwise the game will draw everything onto a single tile! So, at the end of the loop, after all the if-statements checking for the different file types, add this chunk:
x++;
if (x >= MAP_WIDTH)
{
    y++;
    x = 0;
}
We increment x and, if we have reached the end of the current line, jump to the next one.
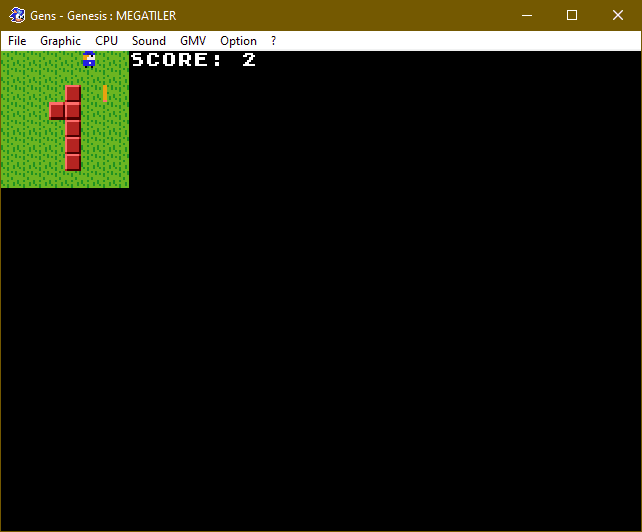
Phew! You with me so far? Now is probably a good time to compile the game and see if there are any errors. If everything goes well, the game should look exactly as it did before!
That’s a bit depressing after so much work…
Anyway, with our level system now set up, all we need to do is to load the next level once the player has reached the exit! In the last part of this series we’ve added a check to see if the player has landed on an unlocked exit, but didn’t do anything with it. Let’s change that!
if (exitUnlocked == TRUE && player.tilePos.x == exitLocation.x && player.tilePos.y == exitLocation.y)
{
    currentLevelIndex++;
    if(currentLevelIndex >= LEVEL_NUM){
        currentLevelIndex = 0;
    }
    loadLevel();
}
It’s pretty simple: We increment currentLevelIndex and call loadLevel, which will then automatically load the next level in the list. However, we have to check whether there are any levels left in the list; otherwise we just loop back to the first level by resetting currentLevelIndex. Of course you could also end the game here, show an ending cutscene…whatever!
Now we’re almost done, but there is still one more thing to do. Remember the function getTileAt we wrote to return a specific tile from the current level? Yeah…it’s still hardcoded to point to level1! This means that no matter what level we’re in, we’ll always get the collision data from the first level. Let’s fix that real quick!
int getTileAt(u8 X,u8 Y){
    return *(currentLevel + (Y * MAP_WIDTH + X));
}
And this is also why we defined the function the way we did in part 3. Since we’re not directly working with a level array anymore, an approach like currentlevel[y][x] wouldn’t work!
And now we are done! Wow, that was a lot of work. Compile the game, collect the coins, step on the exit and woosh, you’re transported to the next level!
And that is it for this tutorial series! Thank you for sticking around, I hope you enjoyed it. If you end up making a whole game based on this tutorial, absolutely let me know! I’d love to see it and spread the word.
If you want more tutorials like this, and if you want to get more out of them, consider supporting me on Patreon! And if you want to try your hand at coding for modern platforms like the PC or HTML5, why not check out my HaxeFlixel tutorials? I’m currently working on Go! Go! PogoGirl, a 90s-inspired retro platformer which also runs on HaxeFlixel!
Thank you for reading, be excellent to each other, and party on! I’ll see you next time!
If you've got problems or questions, join the official SGDK Discord! It's full of people a lot smarter and skilled than me. Of course you're also welcome to just hang out and have fun!

Want To Buy Me a Coffee?
Coffee rules, and it keeps me going! I'll take beer too, though.
Check out the rest of this tutorial series!
Comments
By using the Disqus service you confirm that you have read and agreed to the privacy policy.
comments powered by Disqus