Megatiler 4 - Tile Movement (Part 2)
NOTE:
This tutorial is most likely not compatible with versions of SGDK above 1.70.
Unfortunately, I simply do not have the capacity or ability to update them right now. Read more about it here. Sorry.


We’ve implemented a lot of movement code already, but so far it’s been not much more than a dry run. Let’s get to actually moving the player around this time!
Moving the Player (For Real This Time)
We can change the internal coordinates of our player entity using the joypad now, but in order to reflect these changes on screen we’ll have to actually move the player sprite. This is going to happen in our main game loop. As we only want to move the player sprite when the player is actually moving, let’s start with another big if-statement:
while(1){
    if(player.moving == TRUE){

    }
}
The rest of the code is going in the body of that statement.
Since it was so much fun the last time, let’s add another switch statement that goes through all the potential directions the player could be moving in!
switch(player.dir){
    case up:
        //Move up
        break;
    case down:
        //Move down
        break;
    case left:
        //Move left
        break;
    case right:
        //Move right
        break;
    default:
        break;
}
Last time we modified the tilePos value of the player entity. However, since this time we want to actually move the sprite, we will modify the pos value, which stores the position of the player entity in pixels. This is what that looks like:
case up:
    player.pos.y -= 1;
    break;
case down:
    player.pos.y += 1;
    break;
case left:
    player.pos.x -= 1;
    break;
case right:
    player.pos.x += 1;
    break;
It’s pretty simple. If the player is moving up, its y-position is shifted upwards. If it’s moving right, the x-position is increased, and so on.
But SGDK will have to do the actual sprite moving, so let’s tell it to do so. At the end of the game loop, before SYS_doVBlankProcess(), add:
SPR_setPosition(player.sprite, player.pos.x, player.pos.y);
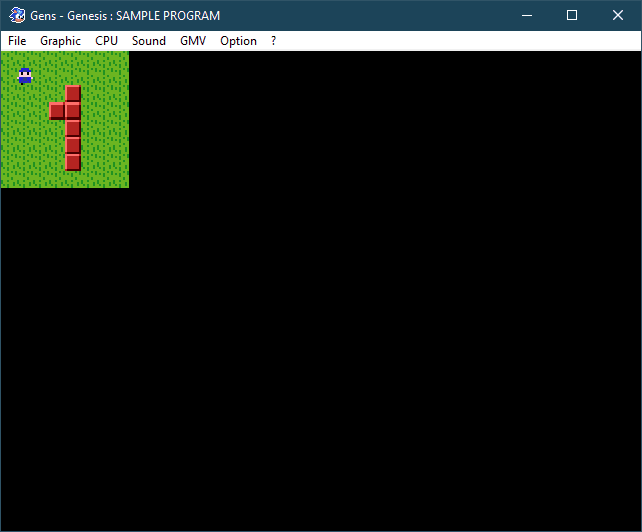
Now compile the game and try it out! Pressing a direction on the D-Pad should now move the player.
Unfortunately, the player never stops. Whoops.
When we input a direction, movePlayer checks whether the player can move in that direction and sets moving to TRUE if that’s the case. And while moving is set to TRUE, our game loop will move the player sprite in that direction at a rate of 1 pixel per frame…forever. We should probably tell our player to stop once it has reached the next tile!
Stopping the Player
We’ll slip this code between our previous switch-statement and the call to SPR_setPosition. We want to stop the player once it has reached the next tile over, but how do we do that? With math!
if (player.pos.x % TILESIZE == 0 && player.pos.y % TILESIZE == 0){
    //Stop the player
}
The modulus operator % comes in really handy here. We have specified a fixed TILESIZE for our tilemap, which, in our case, is 8. As we want strictly tile-based movement, this means that we only want to move our player in steps of 8 pixels, because that is always the distance to the next tile over. As our player is currently moving at 1 pixel per frame, we have to stop it once it has moved 8 pixels. We could either simply count the amount of total pixels moved and stop the player then; or we can be fancy and use the modulus operator, which returns the remainder of a division. When this remainder is 0, it means that the current position of the player is a multiple of 8…and therefore the position of a tile, which is exactly where we want the player to be.
Alright, after this chunk of theory, let’s actually stop the player. Luckily, that’s pretty easy:
if (player.pos.x % TILESIZE == 0 && player.pos.y % TILESIZE == 0){
    player.moving = FALSE;
}
This will break us out of the movement loop and leave the player sprite alone, until we toggle moving back on by pressing a direction on the joypad.
Try the game again and you should see that now the player is only moving one tile every time, and doesn’t move when we hit a wall or the edge of the map!
Animations
Now we can move our player around, which is cool! But before we wrap up, let’s add one final layer of polish. You might remember that our player sprite sheet contained sprites for multiple directions, so let’s use them!
First, define the animation frames to make the code easier to read:
#define ANIM_DOWN 0
#define ANIM_UP 1
#define ANIM_SIDE 2
Now we’re gonna set these animations in movePlayer, starting with the up case. After we’ve set player.dir, add this line:
player.dir = Direction;
SPR_setAnim(player.sprite,ANIM_UP);
For the down case, this would be:
SPR_setAnim(player.sprite, ANIM_DOWN);
Which is pretty self-explanatory. However, for the left/right movement we’ll have to add a little bit extra. In the case of left, these two lines will do the trick:
SPR_setAnim(player.sprite, ANIM_SIDE);
SPR_setHFlip(player.sprite, TRUE);
The second line is important here. The sprite in our sprite sheet is looking to the right; so, if we want to have it looking left, we need to flip it horizontally using SPR_setHFlip!
And, conversely, when moving right we would do:
SPR_setAnim(player.sprite, ANIM_SIDE);
SPR_setHFlip(player.sprite,FALSE);
It might seem superfluous to call SPR_setHFlip here because the sprite is looking right by default. However, we need to flip the sprite back in case we moved left before!
And that’s pretty much it, really. We could of course have added separate animations for moving left and right, but simply flipping sprites is a quick, easy, and resource-efficient way of dealing with multiple movement directions.

Summary
Let’s summarize the logic of our movement code. First, we check if a direction on the D-Pad has been pushed. If so, we pass this direction into the movePlayer function. This function checks whether the player can move in that direction; that is not the case if the player would run off the map or into a wall. But if the coast is clear, the function sets the player’s internal moving flag to TRUE and also updates the animation of the sprite. Once the game loop notices that, it starts to move the player in the specified direction, but stops it at the next tile. The moving flag is then set back to FALSE and will remain so until we press another button.
The whole concept is quite simple once you’ve wrapped your head around it. Of course there are other ways of implementing this type of movement, so don’t be confused if you see similar but different code snippets on the web.
Now we can move our player character around this tiled world. Next time we’ll actually give him something to do!
If you've got problems or questions, join the official SGDK Discord! It's full of people a lot smarter and skilled than me. Of course you're also welcome to just hang out and have fun!

Want To Buy Me a Coffee?
Coffee rules, and it keeps me going! I'll take beer too, though.
Check out the rest of this tutorial series!
Comments
By using the Disqus service you confirm that you have read and agreed to the privacy policy.
comments powered by Disqus