Collision and Overlap

HaxeFlixel comes with many powerful features, and one of the most useful ones is the built-in collision handling. Collision can be a very complex and difficult topic in gamedev, but HaxeFlixel makes it very easy to get it working. And this is not only extremely useful for quickly prototyping a game idea; the whole system is actually robust and performant enough for real production! So in this post, let’s take a look at how to leverage the built-in collision features to smash things together in our games.
FlxG.collide
The quickest way to get collision working is by using FlxG.collide(). Simply pass in the two objects you want to collide, and HaxeFlixel will make sure that they don’t move into each other. So, a simple call like:
FlxG.collide(player,floor);
is enough to make a player character stand on the floor, instead of falling through it.
What’s even better is that you can not only pass in single objects, but also FlxGroups! So a call like
FlxG.collide(player,grpWalls);
will let the player character collide with any of the walls in grpWalls. And to be super efficient, you could also do:
FlxG.collide(grpEnemies,grpWalls);
which will collide all enemies in grpEnemies with all walls in grpWalls. HaxeFlixel simply iterates through all objects in the groups and checks them against each other. So with a single function call, you can automatically deal with a whole bunch of collisions! However, in such cases it’s important to set the immovable property of each wall to true. Otherwise the player character would be able to just push walls away, which isn’t the point of a wall.
Note: FlxG.collide takes arguments of type FlxBasic, which is a “generic” Flixel object that is extended by both FlxObject and FlxGroup. That’s why you can pass in both!
Consequences
But letting things collide often isn’t enough; we want things to happen when objects collide. If the player jumps on an enemy, that enemy should be defeated, for example. How do we get that to work?
FlxG.collide actually has a third parameter that takes a callback function. This function will be called whenever two objects collide and allows you to specify exactly what should happen. Let’s say we check whether our player character is colliding with an enemy:
FlxG.collide(player,grpEnemies);
And we want the enemy to be defeated when there is a collision. Here’s an example on how such a function could look:
function handleCollisions(ObjA:FlxSprite,ObjB:FlxSprite):Void{
    ObjB.kill();
}
And here is how we would use that function:
FlxG.collide(player,grpEnemies,handleCollisions);
You might have noticed that the callback function takes two objects of type FlxSprite, but we’re passing in a FlxGroup into collide(). This works because HaxeFlixel iterates through the group and then calls the callback for each member! So as long as the objects in grpEnemies are of type FlxSprite, this code will work perfectly well.
Note: The callback function actually takes arguments of type Dynamic, meaning you can pass in whatever type you want. I just went with FlxSprite in the example because that’s what you will probably be using most of the time. The important thing is just that the parameter type matches the type of whatever you pass into FlxG.collide.
This function call does the following: HaxeFlixel will check for collisions between the player object and each individual enemy object. If there is a collision, the two objects will be separated and HaxeFlixel will call the callback function. This function will receive the two colliding objects as parameters, in the order that they have been passed into collide(); so in the callback function, ObjA will always be the player and ObjB will always be the enemy that collided with the player. The callback function then calls the kill() method of ObjB, the enemy. HaxeFlixel then moves on to the next object in grpEnemies and checks for further collisions.
You can of course add further checks in the callback function. For example, you could make it so that the enemy is only defeated when the player is jumping on its head; otherwise, the player could be defeated. It’s really up to you and what you need.
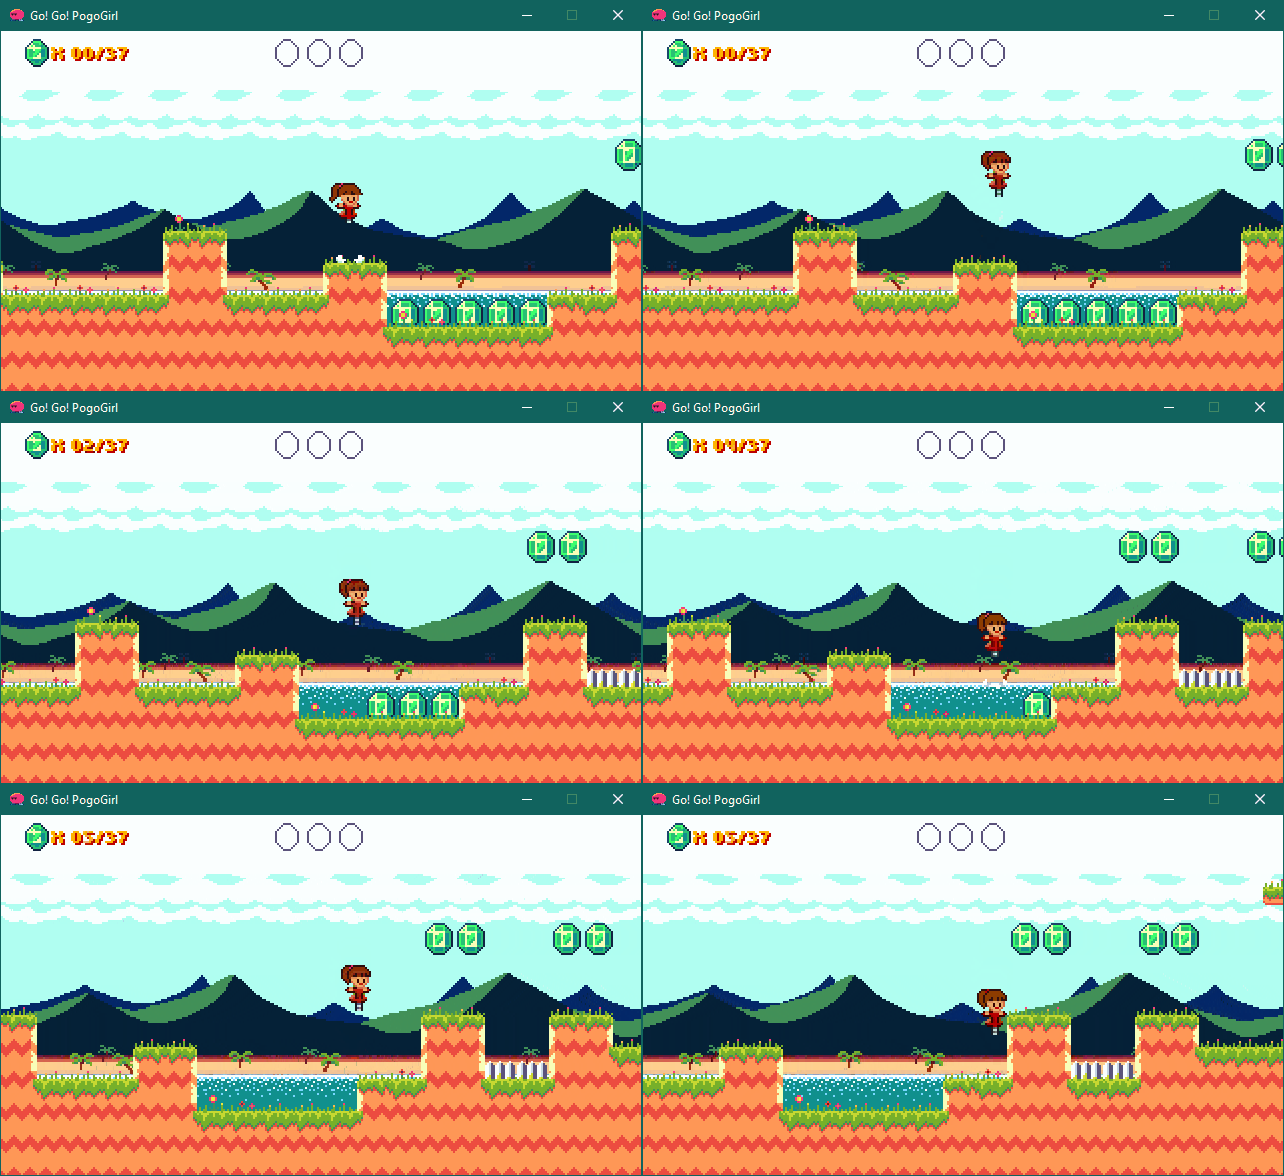
However, you might have noticed a little thing that could become an issue: I said that HaxeFlixel separates the colliding objects before calling the callback function. Sometimes this is what you want, but other times it is not. For example, if you used the above method with pickups or items, you’d get something like this:

HaxeFlixel separates the objects, meaning that they act as if they are solid. For stuff like pickups and items, that’s not good. But this is where FlxG.overlap comes in!
Overlap
FlxG.overlap is essentially the more powerful and flexible equivalent of collide(). Its signature looks like this:
overlap(?ObjectOrGroup1:FlxBasic, ?ObjectOrGroup2:FlxBasic, ?NotifyCallback:(Dynamic, Dynamic) ‑> Void, ?ProcessCallback:(Dynamic, Dynamic) ‑> Bool):Bool
As you can see, it accepts two callback functions instead of just one, giving you total control over the collisions in your game. FlxG.overlap checks if two objects are overlapping. If that is the case, ProcessCallback is called. In this function (that receives the colliding objects as usual) you can basically check whether the overlap is supposed to be counted as a collision. If it is, NotifyCallback is called to handle that collision as before.
It’s that extra step offered by ProcessCallback that makes overlap so much more powerful than collide. It allows you to judge yourself whether two objects should be considered to be colliding, therefore allowing you to prevent HaxeFlixel from separating them.
In fact, FlxG.collide simply calls FlxG.overlap and presets ProcessCallback to FlxObject.separate. And it is FlxObject.separate that takes care of separating objects so that they don’t overlap anymore. By overriding this, we can take full control. But let’s look at an example!
Say we have a player character that can collide with two different objects: A solid box that breaks when the player touches it, and a coin that can be collected. The box should stop the player, but the coin shouldn’t. Our call to overlap is gonna look like this:
FlxG.overlap(player,grpObjects,handleCollisions,processCollisions);
grpObjects is a FlxGroup that contains both our box and our coin.
First, let’s create the ProcessCallback:
function processCollisions(Player:FlxSprite, Obj:FlxSprite):Bool{
    if(Std.is( Obj,Coin )){
        return true;
    } else if(Std.is( Obj,Box )){
        return FlxObject.separate(Player,Obj);
    }
}
We know that player will always be the first argument to be passed in, so we can name the parameter accordingly.
This function now checks the type of Obj (more on this in a second). If it is a coin, it simply returns true, but if it’s a box, it calls FlxObject.separate (which will also return true when the separation is successful). So HaxeFlixel will separate the player from the box, but not from the coin. If the ProcessCallback returns true, then NotifyCallback is called with the same objects, so let’s define that as well:
function handleCollisions(Player:FlxSprite, Obj:FlxSprite):Bool{
    if(Std.is( Obj,Coin )){
        Coin.kill();
        coinCount++;
    } else if(Std.is (Obj, Box )){
        Box.kill();
    }
}
And that’s all we need! It might be a bit confusing, so let’s go through it step by step. First, FlxG.overlap checks if the player overlaps any of the objects in grpObjects. If so, it calls processCollisions and passes in the player and the overlapping object. If the object is a coin, we return true and therefore call handleCollisions, passing in both the player and the coin. Here, we kill the coin and increase the player’s coin count. However, if the player is colliding with a box, we call FlxObject.separate to separate the player from the box. If the separation is successful, FlxObject.separate returns true and handleCollisions is once again called, where the box is destroyed.
Three final things before we wrap up. First of all: If ProcessCallback returns false, NotifyCallback is not called. This way you can prevent anything from happening.
Second of all, you might be wondering why we’re using both callbacks to collect a coin. And indeed, we wouldn’t need to use both. Instead of returning true in ProcessCallback to trigger the NotifyCallback that then kills the coin, we could have simply done:
function processCollisions(Player:FlxSprite, Obj:FlxSprite):Bool{
    if(Std.is( Obj,Coin )){
        Coin.kill();
        coinCount++;
        return false;
    }
    //...
}
However, for the box we needed both; we want to make sure that HaxeFlixel has successfully separated the player and the box before we destroy it, so we split up the logic across the two callbacks. But if a single step is enough to deal with a collision, you can just put the logic in ProcessCallback if you want. It’s really up to you.
Finally, we’re using Std.is() to check the type of the objects. This is only one of many ways to check what has been passed in and only works if the coins are an instance of a class Coin that extends FlxSprite (and the same goes for box, which has to be of type Box). I chose this option because it’s easily readable in an example, but you’re free to set everything up however you want!
And that’s it! I hope I was able to show that HaxeFlixel offers a robust collision system that’s both powerful and easy to use. Whether you want to have quick and simple collisions or a more complex system, HaxeFlixel allows you to go as deep as you want. You wouldn’t even have to use any of the built-in functions if you didn’t want to.
Be excellent to each other, and party on!
If you have any questions, comments or criticism, post them in the comments below or reach out to me on Twitter @ohsat_games!

Want To Buy Me a Coffee?
Coffee rules, and it keeps me going! I'll take beer too, though.

Check out the rest of this tutorial series!
Comments
By using the Disqus service you confirm that you have read and agreed to the privacy policy.
comments powered by Disqus