One-Way Collisions


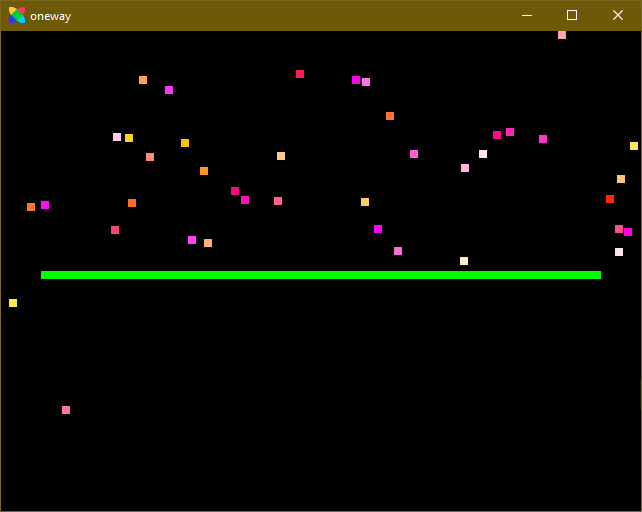
Collisions make up a big part of pretty much any game, and I’ve already demonstrated how easy it is to deal with them in HaxeFlixel. However, sometimes you need a little more control. Platformer games for example often have one-way platforms that you can jump through from below, but which are solid once you land on them. Well, funnily enough, HaxeFlixel makes it very easy to implement this too! Let’s create a little screensaver-like thing to demonstrate. This is what it’ll look like:
Let’s get to it! Create a new HF project by opening up a command prompt in the location of your choice and typing:
flixel tpl -n "oneway"
Then open up the PlayState.hx file, which is where we’ll add all our code.
Then, in create(), add this chunk of code after the call to super.create():
grpWalls = new FlxTypedGroup<FlxSprite>();

// Create the outer walls
grpWalls.add(new FlxSprite(0, -8).makeGraphic(FlxG.width, 8)); // top
grpWalls.add(new FlxSprite(FlxG.width, 0).makeGraphic(8, FlxG.height)); // right
grpWalls.add(new FlxSprite(0, FlxG.height).makeGraphic(FlxG.width, 8)); // bottom
grpWalls.add(new FlxSprite(-8, 0).makeGraphic(8, FlxG.height)); // left

add(grpWalls);
First we create the grpWalls group, then we create four sprites around the outside of the screen. These are the walls that will keep the balls from bouncing out of bounds. Then we add the group to the state.
But before the walls can stop the balls, we have to make them immovable:
// Make the walls immovable
for (w in grpWalls)
{
    w.immovable = true;
}
Next, we’ll need a bunch of balls to bounce around. We’ll use the FlxRandom class to randomize their spawn position, velocity and even their color to make things a bit more interesting. For that, we’ll have to create a new FlxRandom instance.
// Create the balls
var rand = new FlxRandom();

grpBalls = new FlxTypedGroup<FlxSprite>();

for (i in 0...40)
{
    var b = new FlxSprite(rand.int(0, FlxG.width - 8), rand.int(0, FlxG.height - 8)).makeGraphic(8, 8, rand.color(FlxColor.RED));
    b.elasticity = 1;
    b.velocity.set(rand.int(50, 200), rand.int(50, 200));
    grpBalls.add(b);
}

add(grpBalls);
As you can see, we create 40 balls in total. Each one will be spawned at a random position on the screen and have a random color. I’ve set FlxColor.RED as the minimum color for rand.color to prevent the resulting colors from being too dark. We want to make this look good, after all!
The velocity of each ball is also randomized, and we set the elasticity of each ball to 1, meaning it will bounce off the walls at full speed. Finally, we add the whole group to the state.
We’ve got walls and balls, now let’s make them interact. This only takes one line of code. In the update function, add this code after the super call:
FlxG.collide(grpBalls, grpWalls);
And that’s it, now the balls should be bouncing around the screen forever!
But we wanted to try out one-way collisions, so let’s put in that barrier, eh?
The barrier itself is just another sprite that we create in create(), after we’ve added all the outer walls:
// Create the barrier
var barrier = new FlxSprite(40, FlxG.height / 2).makeGraphic(560, 8, FlxColor.LIME);
barrier.immovable = true;
grpWalls.add(barrier);
Simple enough, but how do we make it so that the balls can only pass through the barrier in one direction? It’s actually very, very easy. We do it like this:
barrier.allowCollisions = FlxObject.UP;
That’s all it takes. UP is a static property of the FlxObject class and makes it so that the barrier can only be collided with from above; so balls moving downwards are blocked, while balls moving upwards simply pass through the barrier.
Of course there are other properties as well: ANY is the default, meaning collisions are possible from any direction. But you can also specify RIGHT, DOWN or LEFT and even chain them with the bitwise-or operator |; so barrier.allowCollisions = FlxObject.UP | FlxObject.RIGHT would allow collisions both from above and from the right.
Note that we don’t have to modify our collide call or anything like that. The collision properties are stored in the sprites themselves, and HaxeFlixel takes them into account when resolving their collisions.
Thank you for reading and until next time!
If you have any questions, comments or criticism, post them in the comments below or reach out to me on Twitter @ohsat_games!

Want To Buy Me a Coffee?
Coffee rules, and it keeps me going! I'll take beer too, though.
Check out the rest of this tutorial series!
Comments
By using the Disqus service you confirm that you have read and agreed to the privacy policy.
comments powered by Disqus