In this beginner tutorial you'll learn how to make Breakout game in HaxeFlixel from scratch!
HF Breakout 4 - Paddles
Welcome to part 4! This time we’ll let players control the paddle so that they can smash the ball into bricks. Now things are getting really interesting, so let’s get into it!
Paddle
Let’s get the paddle moving! To do this, we will check for input every frame, then set the velocity of the paddle accordingly. This of course will happen in update().
However, we have to do one thing before we forget! Right now, the paddle does not have immovable set to true. This means that if the ball hits the paddle, the paddle will be knocked away! So, to fix that, add the following line in create() after creating the paddle:
paddle.immovable = true;
Okay, now we can start moving the paddle! First, add a variable storing the paddle speed at the top of the state, next to the ball speed variable:
var PADDLE_SPEED:Float = 260;
Now, in update, before the collide calls, add this:
// Paddle control
if (FlxG.keys.pressed.LEFT)
{
    paddle.velocity.x = -PADDLE_SPEED;
}
Welcome back, FlxG! Among the many useful functions of this helper class is checking for input. In this case, we’re checking if the left arrow key is pressed. Every key on the keyboard is available for polling, as autocomplete should show you. There are also different input states to check for: pressed checks if a key is being pressed in this current frame, so if that is the case, the if-condition triggers every frame the key is held down. There are also other states like justPressed or justReleased, but we don’t need them right now.
So, if the left arrow key is pressed down, we set the velocity of the paddle. You might remember that we don’t need to actually set the velocity every frame, as HaxeFlixel stores it. However, it doesn’t hurt to do so.
Now we know how to move the paddle left. Moving it to the right is the same, but with the x-velocity pointing in the other direction. However, we also need to stop the paddle if no key is pressed. Again, HaxeFlixel stores the velocity of a FlxSprite, so it will stay at PADDLE_SPEED even if we let go of all keys. We get the paddle to stop by using a simple else statement. The whole input code looks like this:
// Paddle control
if (FlxG.keys.pressed.LEFT)
{
    paddle.velocity.x = -PADDLE_SPEED;
}
else if (FlxG.keys.pressed.RIGHT)
{
    paddle.velocity.x = PADDLE_SPEED;
}
else
{
    paddle.velocity.x = 0;
}
Compile the game and test it out. We can now move the paddle!
One thing though: The paddle can leave the screen. We should probably prevent that. We have three options to do so:
- Use
FlxCollideto stop the paddle when it hits a wall. However, this actually doesn’t work, as both the walls and the paddle areimmovable, meaning HaxeFlixel won’t let them collide. - Check the x-position of the paddle in the input code and only set the velocity if the paddle is not currently touching a wall. 3) Use HaxeFlixel power.
Of course we’ll use option 3.
After the input code, add this line in update:
FlxSpriteUtil.bound(paddle);
FlxSpriteUtil contains some useful utility functions dealing with sprites. The bound function keeps sprites within a certain area; if no area is specified via arguments, the whole game area is used instead. So, this one line of code prevents the paddle from ever leaving the screen! Nifty, huh?
Of course, the paddle will now be able to slightly move into the walls. If that bothers you, go with option 2 mentioned above!
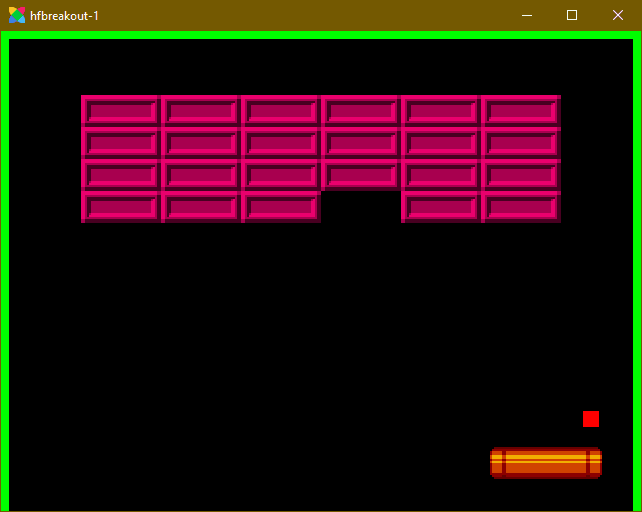
Now, let’s make the paddle whack the ball. You can probably already tell how we’ll do that. A simple call like FlxG.collide(ball, paddle) would indeed be enough, as the ball has its elasticity property set to 1 and therefore bounces. But we’ll go one step further and give players a bit of control over the ball. Once again we’ll do that via a callback. So, call the collide function:
FlxG.collide(ball, paddle, hitBall);
And then define the callback:
function hitBall(Ball:FlxSprite, Paddle:FlxSprite)
{

}
So, what’s gonna go in there? The basic idea is that if the ball hits the left side of the paddle, it goes left; if it hits the right side, it goes right. If it hits the center, it goes straight up. Of course, ideally you’d use trigonometry to calculate precise angles, but let’s keep it simple here.
First, get the midpoints of both the ball and the paddle, so we can compare them:
var ballMid:Int = Std.int(Ball.x + Ball.width / 2);
var paddleMid:Int = Std.int(Paddle.x + Paddle.width / 2);
Note that we’re saving the midpoints as integers, as we don’t need floating point precision. We use the function Std.int() for that, which converts a float to an int by stripping away the decimal places. It’s quick and easy. There are also functions like Math.round() of course, but we don’t need them here.
Now that we have the midpoints, we just need to compare and set the velocity of the ball depending on its point of impact:
if (ballMid < paddleMid)
{
    Ball.velocity.x = -BALL_SPEED;
}
else if (ballMid > paddleMid)
{
    Ball.velocity.x = BALL_SPEED;
}
else
{
    Ball.velocity.x = 0;
}
If the midpoint of the ball is to the left of the paddle midpoint, it flies left. If it hits the right side, it goes right; otherwise it goes straight up. Note that we can simply change the x-value of velocity; we don’t have to call velocity.set().
And…that’s it! Try the game out and you can whack the ball around to break the bricks.
That’s what I call Breakout! But we’re not done yet, oh no. We’ll need to keep track of the player’s score, and end the game if certain conditions are met. We’ll implement all that in the final two parts of this tutorial series! Be excellent to each other, and party on!
If you have any questions, comments or criticism, post them in the comments below or reach out to me on Twitter @ohsat_games!
Download the Project Files!
All patrons on Patreon get the complete source code for this tutorial, as well as other perks such as early access! And Patreon support also ensures that I can keep working on tutorials like this one. Become a Patron!Just Want to Buy Me a Coffee?
Check out the rest of this tutorial series!
Comments
By using the Disqus service you confirm that you have read and agreed to the privacy policy.
comments powered by Disqus