Megalaga 4 - Enemy Movement and Input
NOTE:
This tutorial is most likely not compatible with versions of SGDK above 1.70.
Unfortunately, I simply do not have the capacity or ability to update them right now. Read more about it here. Sorry.

Now we have enemies, but they’re not moving. That’s not really intimidating, is it? Also, our player can’t move either. Let’s change all that so that we can actually interact with our game!
Moving the Enemies
First a quick bit of setup. At the top of main.c add these two defines:
#define LEFT_EDGE 0
#define RIGHT_EDGE 320
These will define the left and right edges of the screen. It’s good to use defines (or variables) for these values, so that we can easily change the bounds of the play area later on.
Now let’s get those enemies moving. We’ll create a function that will go through all enemy entities in a loop and handle the movement for each of them. So let’s define it:
void positionEnemies(){

}
First up, let’s loop through all the enemies and store the current one in a variable so that we can manipulate its values. That’s gonna look like this:
void positionEnemies(){
    u16 i = 0;
    for(i = 0; i < MAX_ENEMIES; i++){
        Entity* e = &enemies[i];
    }
}
First we initialize our counter variable i (which we can’t reuse this time, because we defined the original one inside the main() function). Then we loop through all the enemies, grab the address of the current one and store it inside the pointer e. Again, it’s good to know how pointers work in C…
We only want to move enemies that are alive, so let’s add that condition:
if(e->health > 0){

}
Again we’re using the arrow operator to access items in a struct so we don’t have to type (*e).health. The arrows also make the code look more dynamic, which is always important. Okay, maybe not.
Anyway, let’s finish up our enemy movement. Now that we have our current enemy entity and made sure that it’s alive, we need to apply its velocity to its position and then tell the sprite engine to position the sprite. The velocity of an enemy is set on its creation (see the previous post) so we won’t have to worry about that here.
e->x += e->velx;
SPR_setPosition(e->sprite,e->x,e->y);
We add the value of velx to x. This is all internal inside the current enemy struct. It’s a clean way to handle many variables that are bunched together. Personally I would prefer classes but retrodevs can’t be choosers. We can be glad we can use structs at all!
Okay, so now we have a function that moves enemies… but they would quickly fly out of bounds, which we don’t want. Instead, let’s make them turn around when they hit the edge of the screen. Add the following statements before applying the velocity:
if( (e->x+e->w) > RIGHT_EDGE){
    e->velx = -1;
}
else if(e->x < LEFT_EDGE){
    e->velx = 1;
}
This is where the width (w) of an entity comes in handy, which we also saved inside the struct. If the right edge of an enemy is past the right edge of the screen, we tell it to start moving left. And if the left edge of an enemy leaves the screen on the left side, we tell it to go right.
Now there is only one thing left to do: Actually call the function so that it can do its thing. Do so in while(1) before updating the sprite engine:
while(1){
    positionEnemies();
    SPR_update();
    SYS_doVBlankProcess();
}
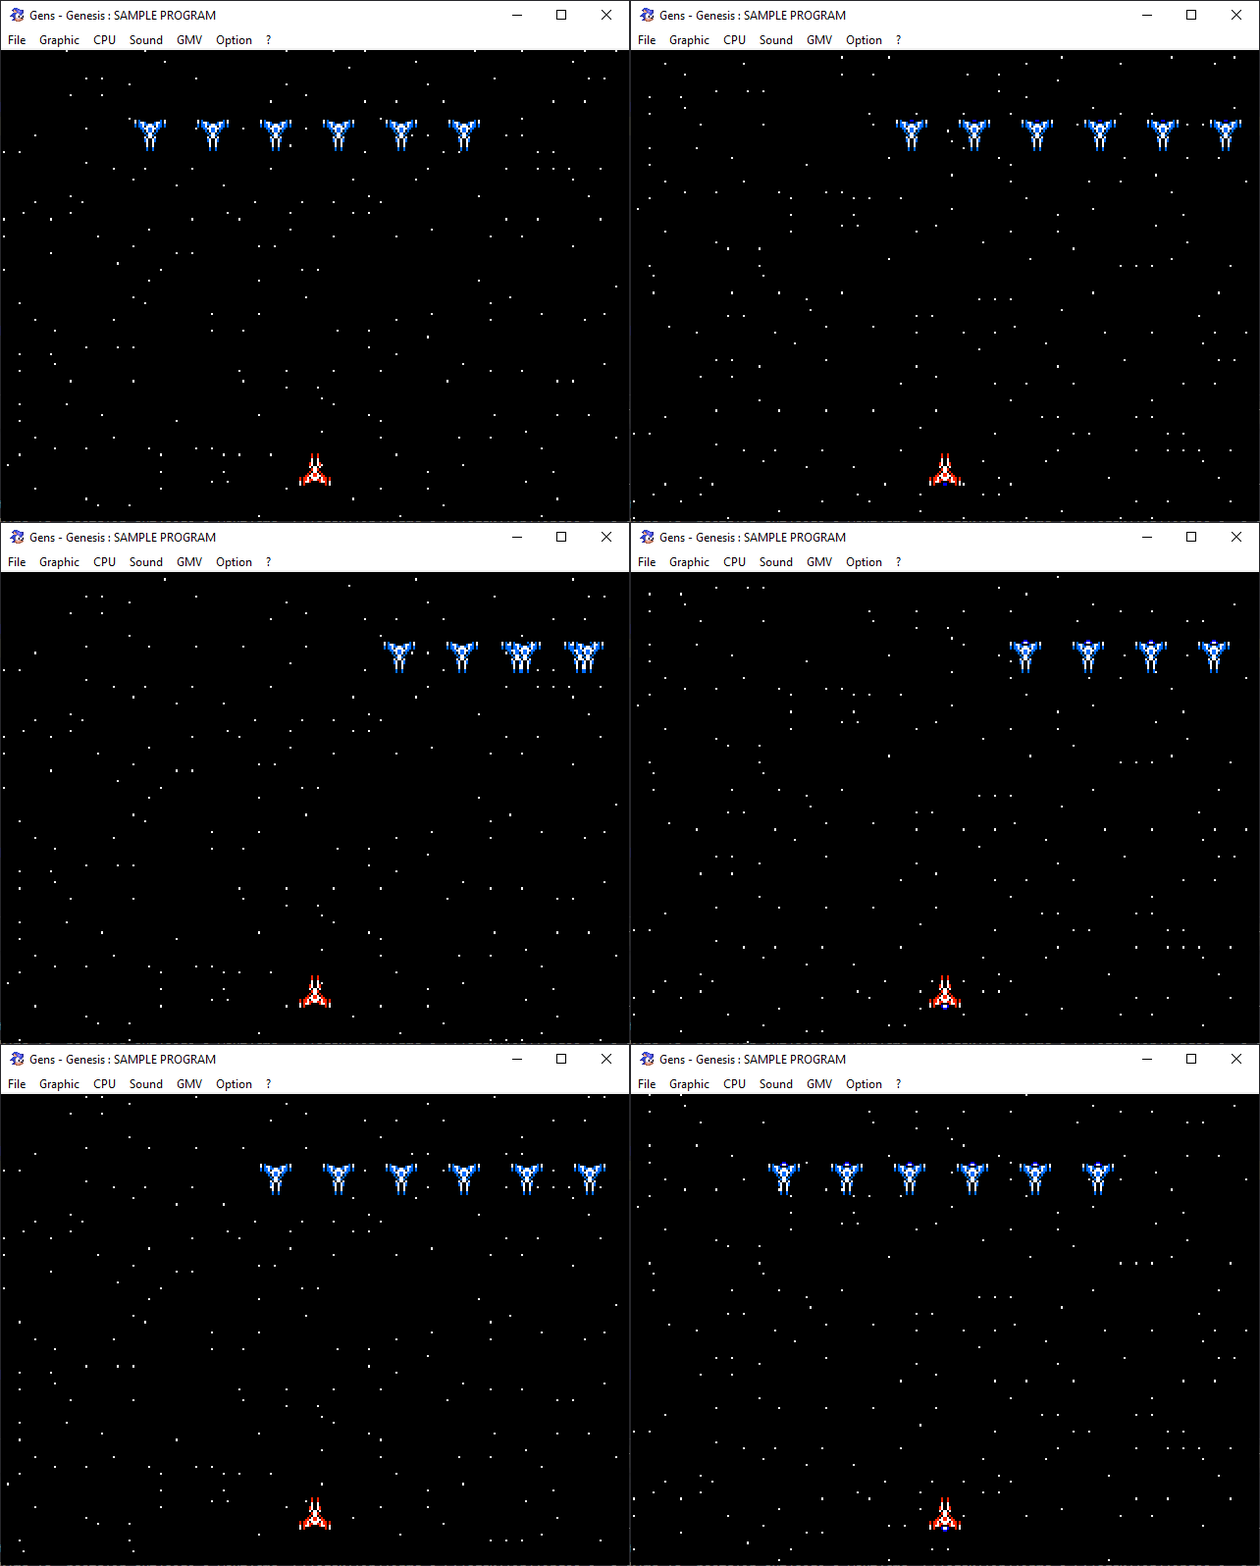
There we go! Compile the game and you should see all enemies bouncing back and forth in a neat row. It’s all handled within a single function, which is clean and convenient. It also ensures consistent behavior of all enemies. Of course we could also handle different enemy types within the same loop, but we’re only making a simple game with a single enemy type.

Moving the player
The enemies are moving now, but the player is still stuck. That doesn’t make for a fun game, so let’s change that. As always we’ll use a callback to handle our joypad input. Define it before the main function:
void myJoyHandler( u16 joy, u16 changed, u16 state)
{
    if (joy == JOY_1)
    {
        if (state & BUTTON_RIGHT)
	    {
            player.velx = 2;
        }
        else if (state & BUTTON_LEFT)
        {
            player.velx = -2;
        }
        else{
            if( (changed & BUTTON_RIGHT) | (changed & BUTTON_LEFT) ){
                player.velx = 0;
            }
        }
    }
}
This function isn’t that much different than in my other tutorials. If left or right is pressed on the D-Pad, the velocity of the player struct is set accordingly. If nothing is pressed, movement stops.
But now, just like with the enemies, we need a function that actually moves the player. We’re gonna call it positionPlayer().
void positionPlayer(){

}
This function will do pretty much the same thing as positionEnemies: Apply the velocity of the player to its position, then update the sprite position on screen. And like the enemies, the player won’t be able to leave the screen. In code things look like this:
void positionPlayer(){
    /*Add the player's velocity to its position*/
    player.x += player.velx;

    /*Keep the player within the bounds of the screen*/
    if(player.x < LEFT_EDGE) player.x = LEFT_EDGE;
    if(player.x + player.w > RIGHT_EDGE) player.x = RIGHT_EDGE - player.w;

    /*Let the Sprite engine position the sprite*/
    SPR_setPosition(player.sprite,player.x,player.y);
}
It’s pretty simple overall. By the way: We could get the dimensions of our entities from the sprites themselves, but saving them in separate values inside the struct gives us more flexibility. For example, we can set the hitbox of an entity independently of its actual graphic on screen.
Okay, now we need to tie our functions into the game’s code. First, initialize the controls and tell SGDK to use the joypad callback we defined. At the beginning of main(), before SYS_disableInts(), add these two lines:
JOY_init();
JOY_setEventHandler( &myJoyHandler );
And to finally get our player sprite moving, call the respective function in the main game loop before positionEnemies():
positionPlayer();
positionEnemies();
//...
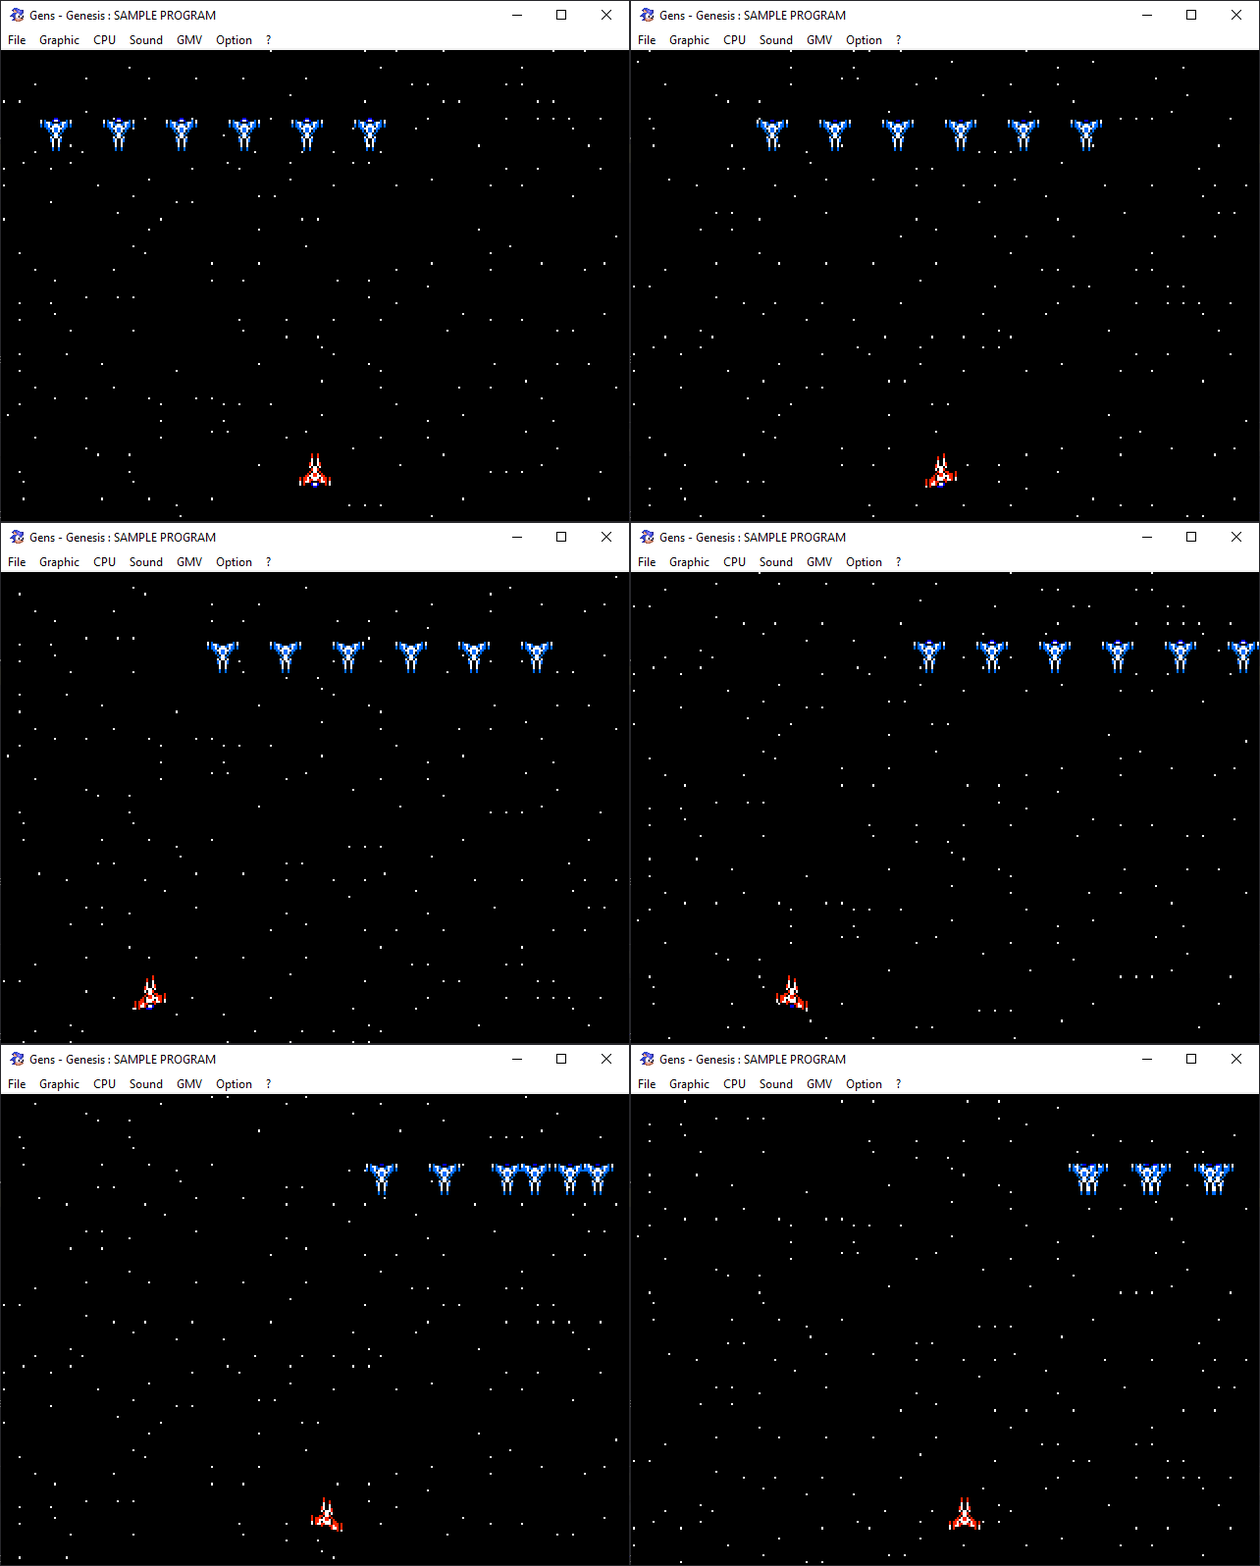
Now compile the game and fly around space for a bit! Our little game is slowly coming together. But let’s kick things up a notch. As you might remember, the player sprite had two animations defined (meaning it had two rows of sprite graphics). If you look at the spritesheet, you’ll see that the second row shows the ship rolling to the side. Let’s implement this animation to make things look cooler and more dynamic!
Rolling
First of all we should define our animations to make things clearer in the code. At the top of main.c add these two defines:
#define ANIM_STRAIGHT 0
#define ANIM_MOVE 1
Animation index 0 will refer to our ship flying straight (the first row of the spritesheet), while index 1 is our ship rolling (row 2 in the sheet).
Now to actually implement these animations, we’ll need to go back to our joypad callback. When we press left/right we want to use ANIM_MOVE, if we press nothing the ship should revert to ANIM_STRAIGHT. Let’s translate that into code:
if (state & BUTTON_RIGHT)
{
    player.velx = 2;
    SPR_setAnim(player.sprite,ANIM_MOVE);
}
else if (state & BUTTON_LEFT)
{
    player.velx = -2;
    SPR_setAnim(player.sprite,ANIM_MOVE);
}
else{
    if( (changed & BUTTON_RIGHT) | (changed & BUTTON_LEFT) ){
        player.velx = 0;
        SPR_setAnim(player.sprite,ANIM_STRAIGHT);
    }
}
The function SPR_setAnim sets the animation for a sprite. Remember that our actual sprite is stored inside the sprite item of our Entity structs! SPR_setAnim(player,ANIM_MOVE) would not work because the function only works on sprites, and player is of type Entity.
If you compile and test the game now you’ll see that the ship only rolls in one direction, no matter which way you move. We could of course create another animation for moving the other way, but there is a far easier (and more efficient) solution: flipping the sprite! SGDK offers the SPR_setHFlip() function to accomplish that.
A look at our ship spritesheet shows that the second row shows the ship rolling left. That means that if we’re going right, we want to flip the sprite so that it’s rolling right instead. Add SPR_setAnim to the right if-statement of our joypad callback so that it looks like this:
if (state & BUTTON_RIGHT)
{
    player.velx = 2;
    SPR_setAnim(player.sprite,ANIM_MOVE);
    SPR_setHFlip(player.sprite,TRUE);
}
However, if the ship is moving left, we don’t need to flip the sprite. So in the statement dealing with moving to the left, add this line:
SPR_setHFlip(player.sprite,FALSE);
The function itself is self-explanatory, it simply tells SGDK whether to horizontally flip a sprite or not.
And we are done! Compile the game and you should see our ship rolling and moving around.

It already looks a lot better, doesn’t it? Little things like this can make a big difference.
Now that we’ve got enemies and the player moving around, we can get to the fun part: Shooting stuff! I’ll see you then, be excellent to each other!
If you've got problems or questions, join the official SGDK Discord! It's full of people a lot smarter and skilled than me. Of course you're also welcome to just hang out and have fun!

Want To Buy Me a Coffee?
Coffee rules, and it keeps me going! I'll take beer too, though.

Check out the rest of this tutorial series!
Comments
By using the Disqus service you confirm that you have read and agreed to the privacy policy.
comments powered by Disqus