Megalaga 1 - Space
NOTE:
This tutorial is most likely not compatible with versions of SGDK above 1.70.
Unfortunately, I simply do not have the capacity or ability to update them right now. Read more about it here. Sorry.


Last Updated: Dec 20 2021
Update: Changed the offset check to offset <= -256 as pointed out by Pyxel Pub (see comments below)
Welcome to another new project tutorial series on Mega Drive development! This time we’ll be creating a space shooter from scratch using SGDK, the Sega Genesis Development Kit. This is what the end result will look like:

It’s a very basic take on the genre. You have to shoot down the enemies at the top of screen and once they’re all destroyed, you’ve won the game. The enemies move left and right and you can only shoot 3 bullets at a time, so you have to get the timing down if you want to beat the game. This tutorial should serve as a good example on how to code one of the most classic of genres on Sega’s 16bit machine.
As usual, I highly recommend that beginners work through Megapong first, as that tutorial explains all the basics of Mega Drive development in more detail than this tutorial will.
And as a final note, this game will use assets created by Jonathan for his Game Creator’s Pack, so shoutout to him!
Making Space
Create a new project (feel free to use my template) and get your environment set up if you haven’t done so already.
Then, download the image file we’ll need for our tiles using the link below:
Unzip it and take a look. As you can see it’s 24x8 pixels big, meaning it will result in a total of 3 tiles at 8x8 pixels each. We’ll use these tiles to assemble a cool space background. Create a new folder called tiles inside the res folder of your project, then put the image in that folder. Then create a new file inside the root of the res folder and call it resources.res. Open it up and add the following line to it:
IMAGE background "tiles/space.bmp" FAST
This will import the image and store it under the name background. Now we’ll load the tiles in the code. First, include the resources in the project by adding the following line at the top of main.c:
#include <resources.h>
Then put the following two lines at the beginning of your main() function:
VDP_loadTileSet(background.tileset,1,DMA);
VDP_setPalette(PAL1, background.palette->data);
This will load the tiles of our background image into memory, starting at index 1. Since the image contained three tiles, we can now access them via the indexes 1, 2 and 3. After loading the tileset, we grab its palette data and save it into PAL1. This one image file actually contains all the colors we’ll need for this game. Usually it’s common to use a different palette for sprites, but since we’re making a very simple game we can be efficient. It’s a good habit to get into when developing on older hardware!
Now to put our tiles on screen. We could assemble the tiles by hand, but let’s make it more interesting (and easy) by generating a random space background each time the game is started. We’ll achieve this with a for loop that will randomly pick one of the three tiles, then place it on the screen. The first tile will get preference, as it’s just empty space and we don’t want the background in our game to be cluttered with too many stars. It would end up looking more like white noise than the vast emptiness of space.
So let’s do this. First of all, define these variables in main() so we can use them for our loop:
int i = 0;
int thex = 0;
int they = 0;
int val = 1;
Then create the loop:
for( i=0; i < 1280; i++){

}
As you can see, we’re looping up to a value of 1280. Why that number? We want to cover the whole screen with tiles, and the Mega Drive has a resolution of 40 x 32 tiles. Multiply that, and you get 1280!
We’ll want to place each tile individually, so we’ll need to know the x- and y-coordinates of where we want to put them. But since we’re simply looping through all the tiles from first to last, we’ll have to use a little trick to get those coordinates. Put this at the beginning of the loop:
thex = i % 40;
they = i / 40;
This snippet is good to keep in mind, as it’s really quite useful. It allows you to work with one-dimensional arrays while still using two coordinates.
Now that we have the desired position of the current tile, we’ll need to figure out which of the three possible tiles will be placed. SGDK has a random() function that can help us here, but it gives us a random value out of the entire possible range of integers…which is a bit much for our purposes. Generating random numbers within a range from 1 to 10 is enough for us. Luckily, math can help us do that!
val = (random() % (10-1+1))+1;
The formula here is random() % (max - min + 1) + min. It’s another very useful code snippet, so write it down somewhere so you won’t have to keep getting it from Stackoverflow like I do.
We said we wanted to give the empty space tile preference, so that the background won’t be too cluttered. So we’ll say that if val is higher than 3, we just set it to 1. This will guarantee that the empty tile will come up a lot more than the two tiles with stars in them, since those are only placed when val equals 2 or 3 exactly.
if(val > 3) val = 1;
Okay, now we know what tile we’ll use and where we’ll put it. All that’s left is to…well, put it on screen! And since we’re placing a single tile, we’ll use the function VDP_setTileMapXY for that:
VDP_setTileMapXY(BG_B,TILE_ATTR_FULL(PAL1,0,0,0,val), thex, they );
We’re putting our tile on the background plane (BG_B) using PAL1 at position thex:they. Compile the game and take a look:
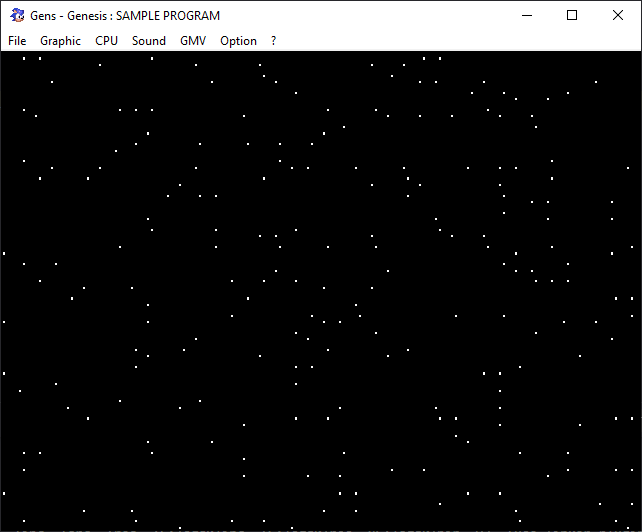
Space. It seems to go on and on forever…
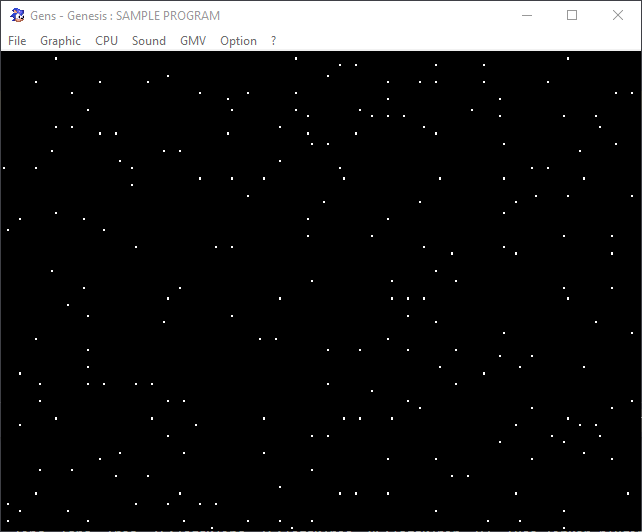
Reset your emulator a couple of times to see that a new background is generated each time. Nifty, huh? If you want to change the amount of stars, simply change the line if(val > 3) val = 1. But personally I’m happy with this balance.
Now as a final flourish, let’s scroll the background to make things more dynamic. Before the main game loop (while(1){}), place the following two lines:
int offset = 0;
VDP_setScrollingMode(HSCROLL_PLANE,VSCROLL_PLANE);
The offset will keep track of how far the background has moved. And we want to just scroll the entire background plane, which is why we’re setting the vertical scrolling mode to VSCROLL_PLANE.
Now put the following line at the beginning of while(1) to actually make the background scroll:
VDP_setVerticalScroll(BG_B,offset -= 2);
if(offset <= -256) offset = 0;
This will scroll the background down by two pixels each frame. Once the background has moved an entire plane length (which equals 256 pixels), we’ll reset offset to 0 to prevent an overflow.
Now compile the game and witness the scrolling in action!
Pretty cool. Let’s just do one final thing before we wrap things up.
When you’re working with the VDP of the Mega Drive (in other words, when we use functions in SGDK starting with VDP_) it’s a good idea to disable system interrupts. It’s not too important to worry about the precise reasons for it now, let’s just say that it’s better to be safe than sorry. Luckily it really isn’t a big deal, simply wrap all your code dealing with the VDP in the following two function calls:
SYS_disableInts();
//Code that loads the tile, draws the background...
SYS_enableInts();
Not the most glamorous thing to end this post with, but it’s important. That’s it for this time, next time we’ll use structs to create entities in an efficient manner. I’ll see you then, be excellent to each other!
If you've got problems or questions, join the official SGDK Discord! It's full of people a lot smarter and skilled than me. Of course you're also welcome to just hang out and have fun!

Want To Buy Me a Coffee?
Coffee rules, and it keeps me going! I'll take beer too, though.
Check out the rest of this tutorial series!
Comments
By using the Disqus service you confirm that you have read and agreed to the privacy policy.
comments powered by Disqus