Megalaga 5 - Bullets
NOTE:
This tutorial is most likely not compatible with versions of SGDK above 1.70.
Unfortunately, I simply do not have the capacity or ability to update them right now. Read more about it here. Sorry.

Let’s lock and load to shoot some space scum! This time we’re going to create a pool of bullet entities, out of which we’ll grab a bullet to launch at our enemies. Let’s get shootin'!
Bullets
First of all we’ll of course need a bullet graphic. Download it using the link below, extract the archive, then put the image in res/sprites.
Then import the bullet image by adding this line to resources.res:
SPRITE bullet "sprites/imgbullet.bmp" 1 1 FAST 0
It’s a simple static sprite without animations that’s one tile big. Nothing special.
Now to create the bullets in the game. First, let’s define how many bullets can be on the screen at the same time. At the top of main.c, near MAX_ENEMIES, add:
#define MAX_BULLETS 3
We’ll stick with a maximum of 3 bullets for now, but you can change that number if you want. Now we need an array to store all of our bullets:
Entity bullets[MAX_BULLETS];
Now we’ll create that bullet pool I mentioned. This works very similarly to creating enemies, so if you need more details, check step 3 of this tutorial. Add this loop before (or after) the enemy creation loop:
/*Create all bullet sprites*/
Entity* b = bullets;
for(i = 0; i < MAX_BULLETS; i++){
    b->x = 0;
    b->y = -10;
    b->w = 8;
    b->h = 8;
    b->sprite = SPR_addSprite(&bullet,bullets[0].x,bullets[0].y,TILE_ATTR(PAL1,0,FALSE,FALSE));
    sprintf(b->name, "Bu%d",i);
    b++;
}
Again we create a pointer b, then loop through all the bullets and set their initial values. The velocity will be set when we fire the bullet, so we can ignore that for now. Each bullet gets a debug name like the enemies did; they will be named Bu1, Bu2 and Bu3.
Okay, now we have a pool of bullets. What to do with it? Firing some of them at enemies sounds like fun! To do that, first we need to give the player the option to fire, so let’s add a button that makes things to boom. In the joypad callback, add:
if (state & BUTTON_B & changed)
{
    shootBullet();
}
But before we actually implement the function we’re calling here, let’s add one little variable that will help us out. Up in main.c, where we defined enemiesLeft, add this variable:
u16 bulletsOnScreen = 0;
As the name implies, this variable will track how many bullets are currently present on screen. We’ll use it to make sure the player can’t shoot more bullets than we defined with MAX_BULLETS. Okay, now to create the function that makes things go!
void shootBullet(){

}
So what will this function do? Basically it will take a bullet out of our pool and launch it from the position of our player. Of course this will only happen if there is a bullet available in the pool; we set our MAX_BULLETS to 3, so there can never be more than 3 bullets on screen at once. But enough theory, let’s implement the function. Add this statement:
if(bulletsOnScreen < MAX_BULLETS){
    Entity* b;
    u16 i = 0;
    for(i=0; i<MAX_BULLETS; i++){
        b = &bullets[i];
    }

}
shootBullet() will only do something if bulletsOnScreen does not exceed MAX_BULLETS, which is why the entire function body will be wrapped in this statement. The rest should seem familiar: Once again we define a pointer (in this case b), then start looping through all bullets in our pool and assign the address of the current one to b. We did the same in the previous post to cycle through enemies and make them move.
Okay, so we grabbed a bullet. Now we need to check whether it is available. We do this by checking its health value; if it’s alive (health == 1) then it is currently launched and unavailable. If it’s dead, we can use it.
if(b->health == 0){

}
Okay, we made sure that our bullet is available and ready for launch. To actually launch it, we’ll need to do 3 things: Position it where the player is, activate it and give it a velocity to send it hurtling towards an enemy (or empty space, depending on your aim). Let’s do it in code:
b->x = player.x+4;
b->y = player.y;

reviveEntity(b);
b->vely = -3;
We’re placing the bullet at player.x + 4, which will make it seem like it’s coming out of the center of the ship sprite. Then we use our reviveEntity() function which we defined way back in step 2. Remember what it does? It sets the health of whatever Entity is passed into it to 1 and makes the sprite visible. This basically activates our bullet. Then finally, we set the bullet’s velocity to -3 to send it upward.
However, we still have to do two more things! Can you guess what?
void shootBullet(){
    if( bulletsOnScreen < MAX_BULLETS ){
        Entity* b;
        u16 i = 0;
        for(i=0; i<MAX_BULLETS; i++){
            b = &bullets[i];
            if(b->health == 0){

                b->x = player.x+4;
                b->y = player.y;

                reviveEntity(b);
                b->vely = -3;

                SPR_setPosition(b->sprite,b->x,b->y);
                bulletsOnScreen++;
                break;
            }
        }
    }
}
We have to tell the sprite engine to actually place the bullet sprite at its current position. Then we have to increase bulletsOnScreen by one, since we’ve just put a new bullet on screen. We can then break out of the loop, because we only want to shoot one bullet per button press.
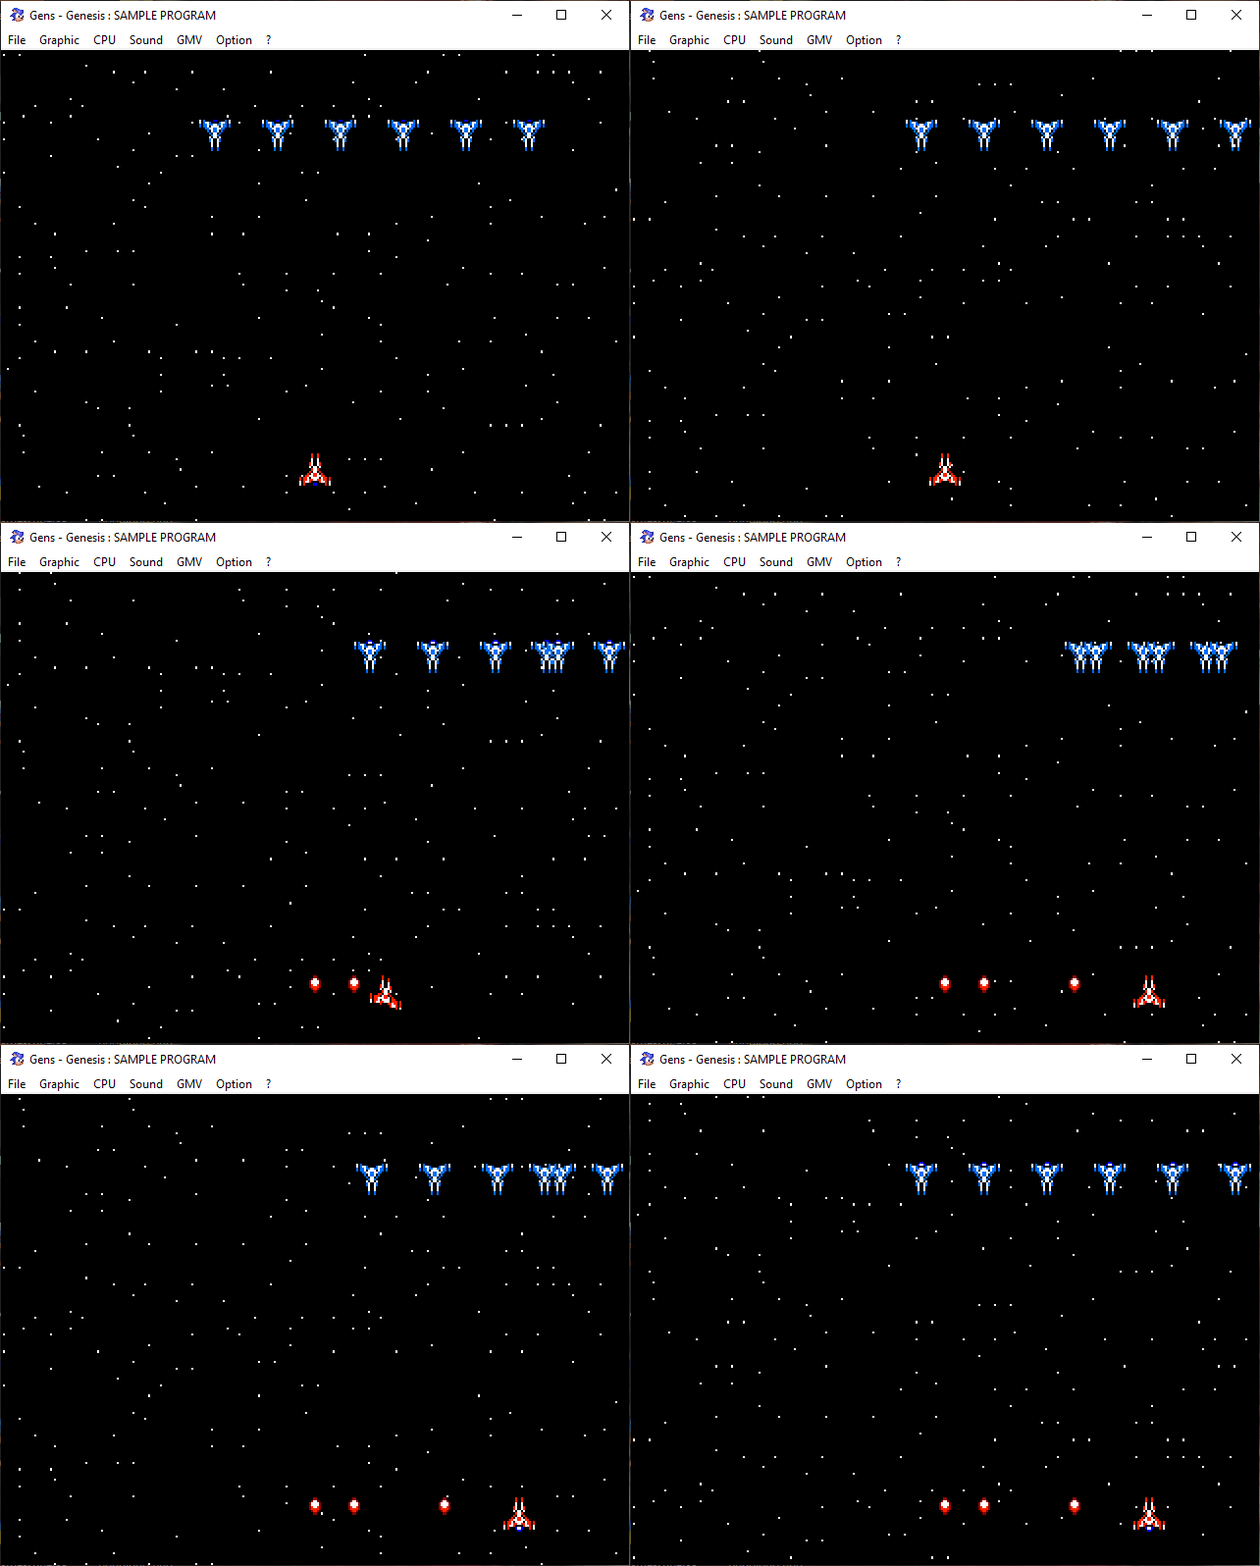
Come on, I know you want to give it a try so compile the game!

Okay, you might have seen this coming. Our bullet doesn’t really go anywhere, because we’re not positioning its sprite every frame. So let’s write a function that does that!
Moving the Bullets
This function will be very similar to the positionEnemies() function we wrote last time, so I won’t go into much detail this time around. Define it somewhere near positionEnemies():
void positionBullets(){

}
Now as usual, create a pointer, loop through all bullets, grab the current one and check if it’s alive:
u16 i = 0;
Entity *b;
for(i = 0; i < MAX_BULLETS; i++){
    b = &bullets[i];
    if(b->health > 0){

    }
}
Unlike with shootBullet this time we only want to process bullets that are alive, meaning they are on screen and thus have health == 1. And what do we do with them? Add velocity to their positions and update their sprite, you got it!
b->y += b->vely;
SPR_setPosition(b->sprite,b->x,b->y);
And we’re done!
Well, actually we’re not. Think about what would happen if you fired a bullet now. It would launch and then never stop going…meaning we could only ever shoot 3 bullets that would then loop around the play area forever! That’s funny, but not what we want. So change what we just wrote to this:
b->y += b->vely;

if(b->y + b->h < 0){
    killEntity(b);
    bulletsOnScreen--;
} else{
    SPR_setPosition(b->sprite,b->x,b->y);
}
So now we’re adding the velocity to our bullet as usual. But before we tell the sprite engine to move it, we first check whether it is still on screen! If its lower edge has left the screen at the top (meaning it has a y-coordinate of less than 0), we kill the entity, meaning it is turned invisible and has its health set to 0, which puts it back in the pool. Then we also update bulletsOnScreen accordingly.
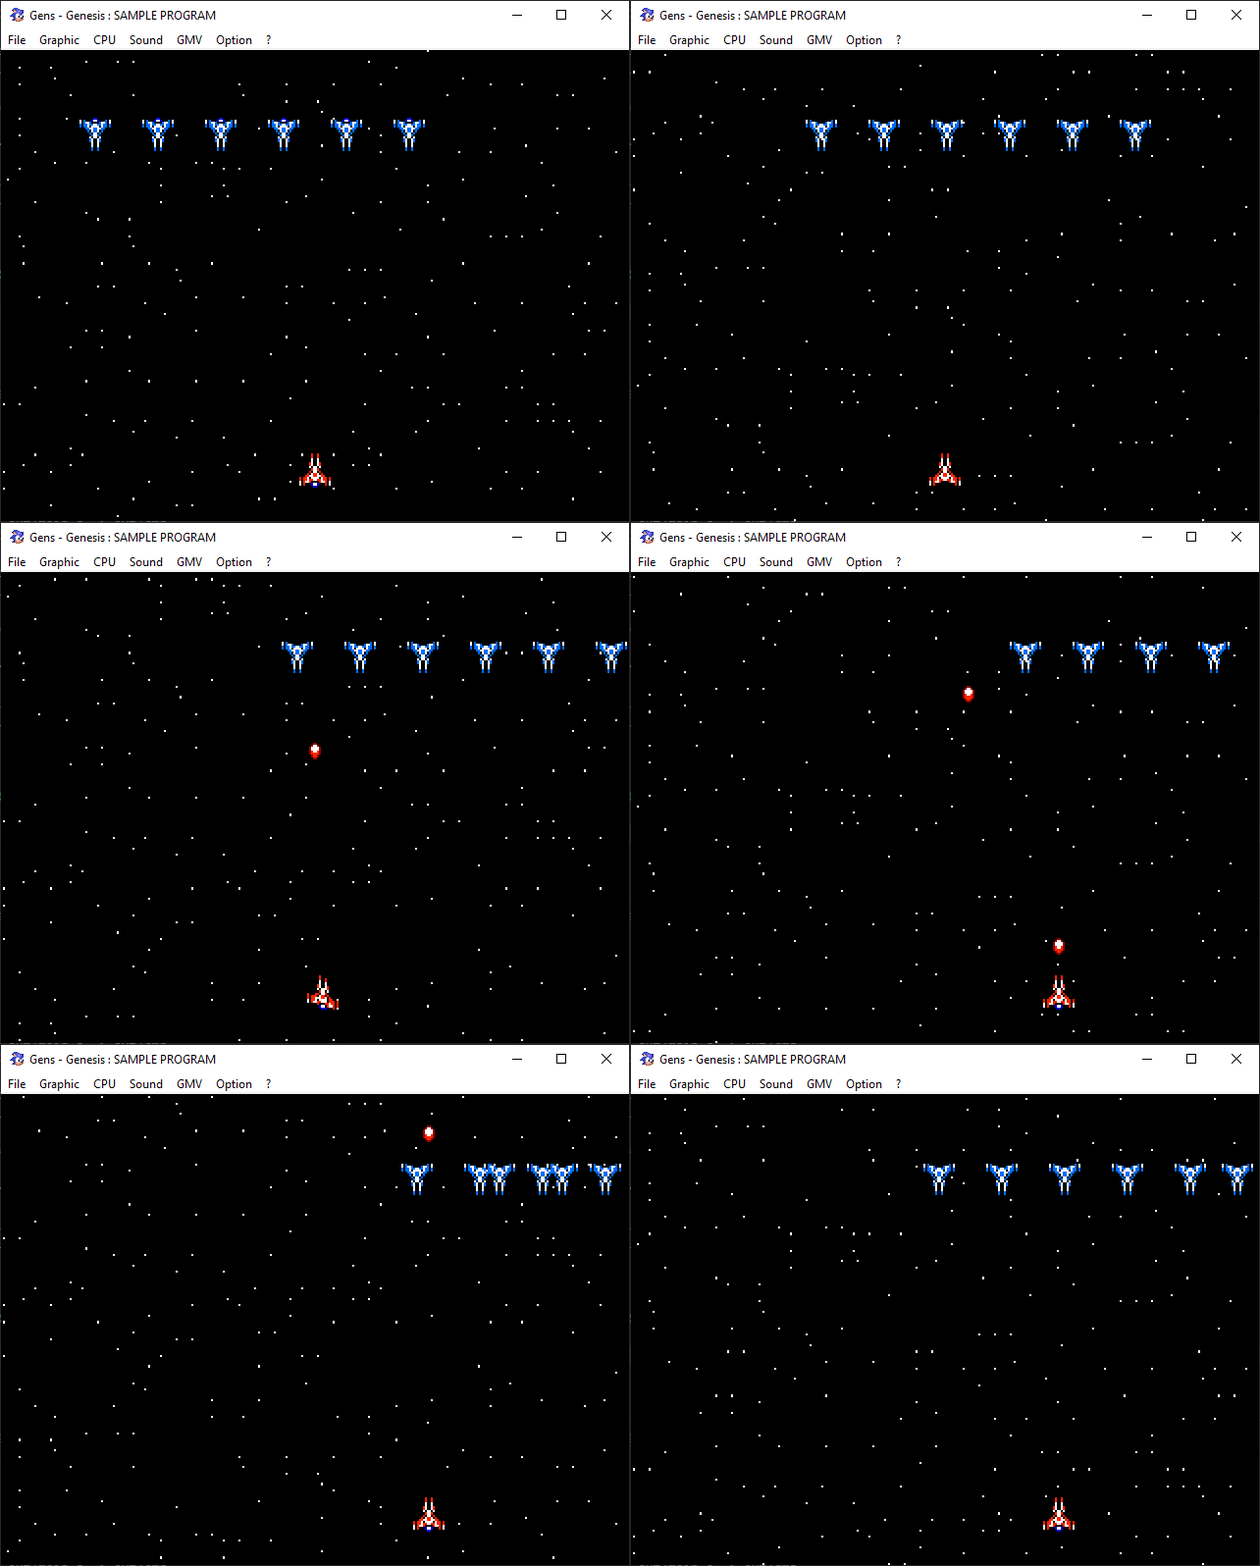
Alright! Now hop on over to the main game loop and add a call to positionBullets() before the call to positionEnemies(). Then compile the game and let loose!

Pew pew pew! Shooting is fun, but hitting things is even more fun. So next time we’ll add some collision code, so that we can finally blow up those enemy ships. Stay tuned, wash your hands and be excellent to each other!
If you've got problems or questions, join the official SGDK Discord! It's full of people a lot smarter and skilled than me. Of course you're also welcome to just hang out and have fun!
Learned Something?
Want To Say Thanks?
Feel free to buy me a coffee!
No Money?
Then join my Discord instead! It's a cool place with cool people.
Come hang out!
Check out the rest of this tutorial series!
Comments
By using the Disqus service you confirm that you have read and agreed to the privacy policy.
comments powered by Disqus