Adventures in Mega Drive Coding Part 3: Importing Graphics
WARNING: These are outdated and obsolete! Instad check out the new >tutorial section<. There you'll learn everything you could here but better!
Note: These are not tutorials, I'm just chronicling my progress as I figure stuff out. Some of the things I do might make an experienced Mega Drive coder cry out in anguish. Feel free to use these posts to guide yourself along, but be aware I might be leading you off a cliff!
Welcome back to Adventures in Mega Drive Coding, where I play around with SGDK in an attempt to get a Mega Drive game done this year!
Last time I managed to get some tiles on the screen, which was exciting. However, I only used a single tile that I had cobbled together in the form of a C array and… well, let’s just be honest, that’s neither very exciting nor a good way to draw the art for an entire game. So this time around, let’s see how we can import some graphics for use in our game!
But first, let me hit you with some facts I learned since the last installment. SGDK lets you store 1310 tiles in VRAM, but if you code in Assembly and know what you’re doing, you can apparently squeeze out ~1800 tiles (thanks Mun!). Way more than I’d know what to do with right now… As far as putting them on screen goes, the Mega Drive gives you two resolution modes to choose from: H40 is the more common one and gives you 40x28 tiles to work with (320x224 pixels). The H32 mode lets you put 32x28 tiles on the screen, so 256x224 pixels. If you’re working with a PAL Mega Drive you’ll get 2 extra tiles vertically each. Thanks to Mike Pavone for pointing that out!
But now on to the main event. First off we’ll actually need to create an image for us to import. When creating art for the Mega Drive there are two restrictions you need to keep in mind:
- The image width/height needs to be divisible by 8 (so a 16x16 or 32x8 image would be fine, 15x16 would not work)
- You can only use 16 colors per tile (and 64 colors total)
Using these constraints I created the following simple block image for us to use (scaled up here so it doesn’t just look like fly poop on your screen):

So far so good. But how do we get this thing in our game? Once again SGDK does all the heavy lifting for us, as it automatically converts assets into formats usable by the Mega Drive. Essentially what you do is: You put your assets (in this case, our block image) into your project’s resource folder (/res by default). Then you create a .res file that tells SGDK what it should import and in what way. If that sounds tricky, it really isn’t. (UPDATE: I wrote a more detailed explanation here!) This is what our file (I named it resources.res) looks like right now:
BITMAP block "block.bmp" 0
This will tell SGDK to load the file block.bmp as a BITMAP file and give it the name block. The 0 disables any kind of compression for the file. In a real project you would definitely want to compress your assets to save space, but I think the Mega Drive can handle a single 8x8 image file.
When you hit compile now, SGDK will convert your files to be usable in your project. It will also generate a header file that you need to include in your project in order to get easy access to these assets.
Getting It out There
Alright, it’s time to get this block on the screen! First we include the header file as noted above:
#include "resources.h"
Then we have to actually load the block data:
VDP_loadBMPTileData(block.image,1,1,1,1);
That’s a lot of 1s. The first one tells SGDK to put the image data in position 1 of the VRAM. The other ones specify the width and height of the bitmap we’re loading; this is useful when you have an image bigger than 8x8 that you want to split up into tiles (we’ll be taking a look at that another time). By the way: We’re using block here as that is the name we specified in our .res file. There is no relation to the actual file name.
Alright, we’re locked and loaded! Let’s fire this thing on the screen using VDP_setTileMapXY as we’ve already learned. I’m gonna be drawing it at tile position 6,6 on PLANE_A:
VDP_setTileMapXY(PLAN_A, 1, 6,6);
Now let’s start up our emulator and…
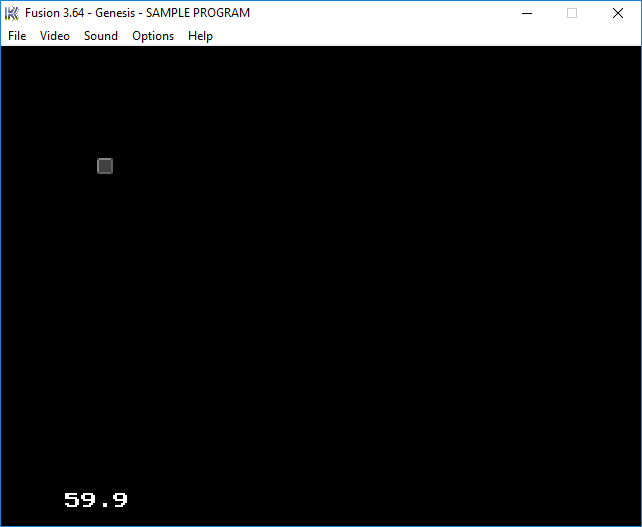
…notice that we don’t seem to be owning a color monitor. No wait, we just forgot something: The palette! Whenever you want to draw something on the Mega Drive you have to tell it what palette you want to use. We’ve already learned that we can pass additional data into VDP_setTileMapXY, one of which was the desired palette. But how do we get the right colors into a palette so that our block gets displayed properly? Like this:
VDP_setPalette(PAL1, block.palette->data);
Luckily SGDK automatically saves the palette data of any bitmap you import. Here we tell it to get that palette data and save it as Palette 1. Now let’s try this again, telling SGDK to load the right palette this time:
VDP_setTileMapXY(PLAN_A, TILE_ATTR_FULL(PAL1, 0,0,0,TILE1),6,6);
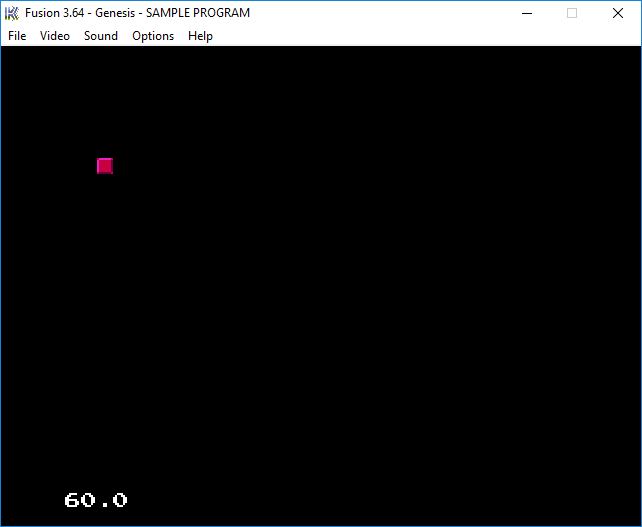
Success! Finally we can bask in the glory of our pink block.
Now to summarize, here’s the code that makes all of this happen:
//Include the header file containing references to our resources
#include "resources.h"

//Load the bitmap data into the VRAM
VDP_loadBMPTileData(block.image,1,1,1,1);

//Load the bitmap's palette as Palette 1
VDP_setPalette(PAL1, block.palette->data);

//Put the tile on the screen using the correct palette
VDP_setTileMapXY(PLAN_A, TILE_ATTR_FULL(PAL1, 0,0,0,1),6,6);
And that’s it! Thanks to SGDK, loading and displaying bitmaps isn’t really much more difficult than it would be using a modern engine on the PC. As always, if there are any questions or things you are curious about, don’t hesitate to let me know! Either post in the comments below or hit me up on Twitter @ohsat_games.
Check out the rest of this series!

Want To Buy Me a Coffee?
Coffee rules, and it keeps me going! I'll take beer too, though.

Related Posts

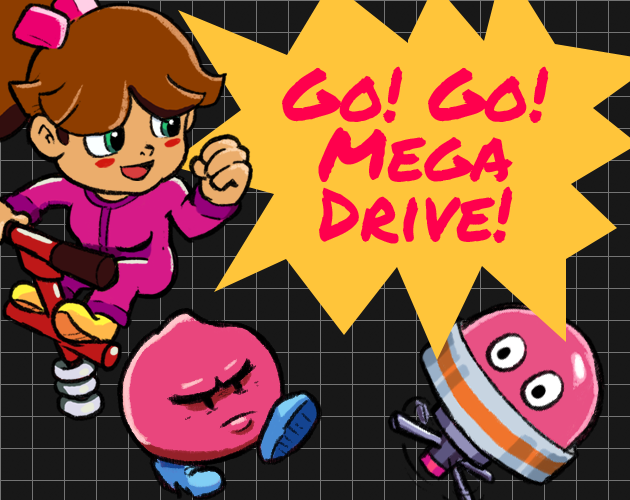
Go! Go! Pogogirl Is Coming to Mega Drive!
It is finally happening: Go! Go! PogoGirl is coming to the Sega Mega Drive!
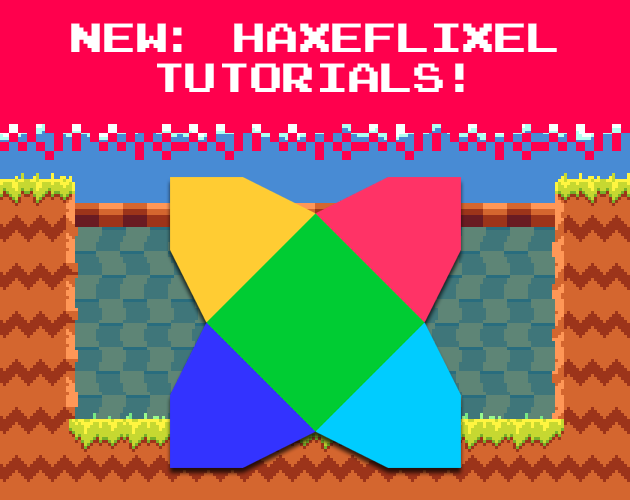
HaxeFlixel Tutorials!
If you’ve popped over to the tutorial section recently you might have noticed that I’ve added my very first HaxeFlixel tutorial! It shows how to implement a simple, pixel-perfect 2D water shader which I used for Go! Go! PogoGirl. But a few of you might be wondering what a HaxeFlixel is. Well, it’s a 2D game framework that is as powerful as it is underrated! It runs on the (also underrated) Haxe language, is extremely well documented, open source, and has built-in functions for almost anything you’d need.
Comments
By using the Disqus service you confirm that you have read and agreed to the privacy policy.
comments powered by Disqus