Adventures in Mega Drive Coding Part 6: Enter Sprites
WARNING: These are outdated and obsolete! Instad check out the new >tutorial section<. There you'll learn everything you could here but better!
Note: These are not tutorials, I'm just chronicling my progress as I figure stuff out. Some of the things I do might make an experienced Mega Drive coder cry out in anguish. Feel free to use these posts to guide yourself along, but be aware I might be leading you off a cliff!
Welcome back to Adventures in Mega Drive Coding, where I play around with SGDK in an attempt to get a Mega Drive game done this year!
After messing around with tiles in the last few installments, it’s finally time to move on to sprites! Sprites in SGDK work differently than tiles, so it’s gonna be a whole new round of figuring stuff out. But enough of the preamble, let’s get some things on screen!
Importing the File
First, we need a graphic for our sprite. I went with Casey from Kid Chameleon.

Didn’t know he was called Casey? You do now. Anyway, first we need to import the sprite by adding it to our resource file:
SPRITE kid_sprite "chameleon.png" 3 4 FAST 1
(For more details on importing assets, check part 3 of this series.)
SPRITEtells SGDK to import the file as a sprite.kid_spritewill be the name we’ll use to refer to this asset (so you can change it to whatever you want).chameleon.pngis quite obviously the file name.3and4are more interesting. These specify how many 8-pixel-chunks the width and height of the spritesheet consist of. Our image only has one animation frame that is 24x32 pixels, so that makes24/8 = 3and32/8 = 4. Apparently it always pays to think in units of 8x8 pixels when working with the Mega Drive.FASTspecifies the type of compression you want to use. I’m not really familiar with any of these yet, so I pickedFASTbecause I’m just impatient like that.- Finally,
1describes the speed of the animation. Since we only have one frame of animation right now this won’t do anything, but if we had more than one this value would specify the framerate of the animation.
And with that we have a Mega Drive-compatible version of our sprite. Now to actually make use of it!
Getting it Into the Game
First of all we’ll need a variable (or more precisely, a pointer) to store our sprite in, so at the top of main.c I defined one:
Sprite* kid;
But before we load Casey into the game we actually have to tell SGDK that we want to use sprites in the first place. In order to do this we call the following function:
SPR_init(0,0,0);
This will initialize the sprite engine. The parameters specify the maximum number of sprites, the VRAM size and the unpack buffer size, respectively. Since I’m not 100% clear on how to use these, I set everything to 0 which will use the default values.
With the sprite engine initialized you’d think we’re ready to load up our Chameleon Kid…but hold on, haven’t we forgotten something? Yup…as with tiles, we need to handle the palette first!
VDP_setPalette(PAL2,kid_sprite.palette->data);
PAL1 contains the colors for our tiles, so I just went ahead and saved this one in PAL2.
And now we can finally invite Casey to join our game! Well, “game”.
kid = SPR_addSprite(&kid_sprite,64,136,TILE_ATTR(PAL2, TRUE, FALSE, FALSE));
SPR_update();
The function SPR_addSprite does what it says on the tin: It adds a sprite. We specify our resource with &kid_sprite as well as the position (64,136) at which we want the sprite to appear. Note: This position is given in pixels, not tiles, so that’s something to look out for! Finally we use TILE_ATTR as usual to tell SGDK what palette to use.
Afterwards we need to call SPR_update() to update the sprite engine; without this call we wouldn’t see anything. If you have sprites that move and animate you’ll want to call this every frame, but for now it’s enough to call it once.
And after all this, let’s see what I ended up with!
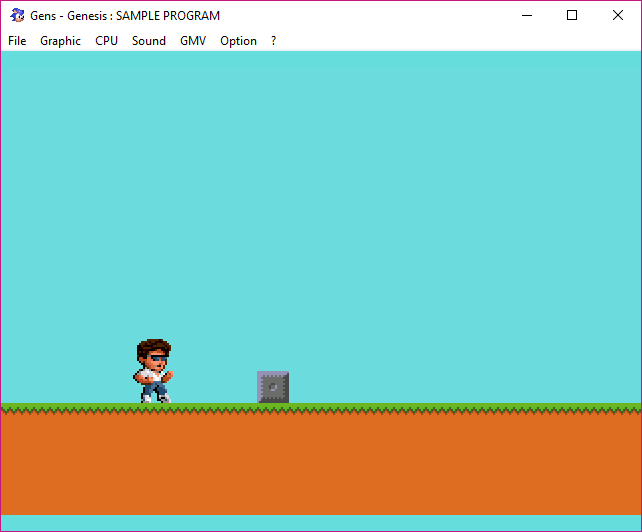
I ended up with Kid Chameleon in my game, which was my original goal…so mission accomplished, I’d say!
Hope you enjoyed this edition of Adventures in Mega Drive Coding! I’m sorry it’s a bit short, but I’ve been extremely busy lately so it was tough getting one of these done at all. It’s a shame too, because I love writing these posts and I do eventually want to start writing a step-by-step tutorial on creating a complete Mega Drive game, with full example code and all that good stuff. Hope I’ll get to that sooner rather than later!
On a related note, I’ve set up a Ko-Fi account in case you want to support me. I appreciate every cup of coffee and I didn’t go with Patreon for now because I don’t want people to commit when I can’t currently guarantee a steady output of the stuff they want.
And if you don’t want to (or can’t) spend money but still want to help me out: Awesome! Feel free to share my stuff, comment on it, check out my games…every little bit helps. Just don’t yell at random children in the street about how awesome my stuff is, my lawyer said I can’t have people do that anymore.
Until next time!
Check out the rest of this series!

Want To Buy Me a Coffee?
Coffee rules, and it keeps me going! I'll take beer too, though.

Related Posts

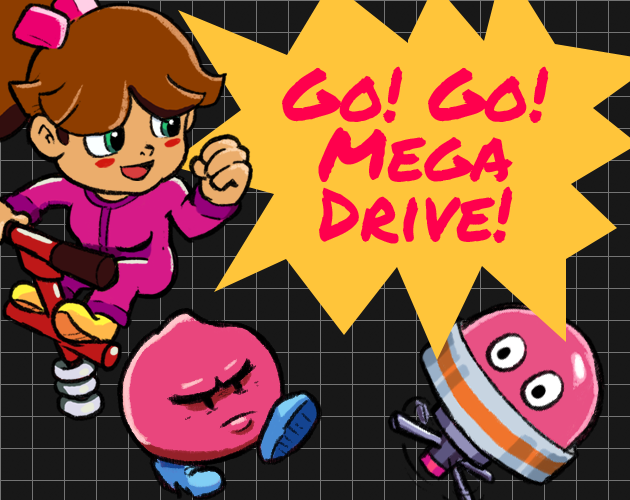
Go! Go! Pogogirl Is Coming to Mega Drive!
It is finally happening: Go! Go! PogoGirl is coming to the Sega Mega Drive!
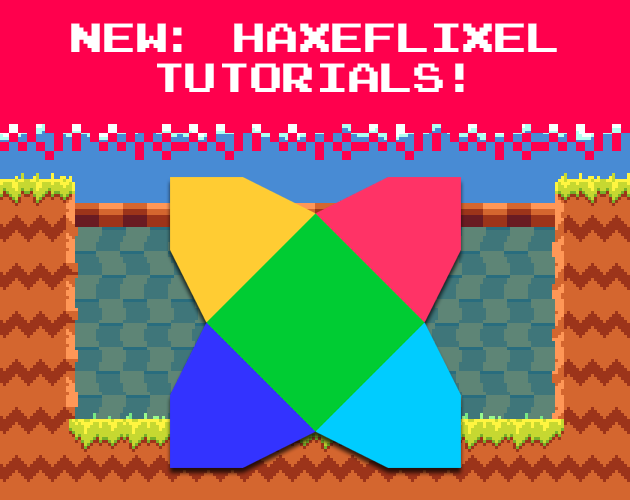
HaxeFlixel Tutorials!
If you’ve popped over to the tutorial section recently you might have noticed that I’ve added my very first HaxeFlixel tutorial! It shows how to implement a simple, pixel-perfect 2D water shader which I used for Go! Go! PogoGirl. But a few of you might be wondering what a HaxeFlixel is. Well, it’s a 2D game framework that is as powerful as it is underrated! It runs on the (also underrated) Haxe language, is extremely well documented, open source, and has built-in functions for almost anything you’d need.
Comments
By using the Disqus service you confirm that you have read and agreed to the privacy policy.
comments powered by Disqus