Adventures in Mega Drive Coding Part 7: Handling Input
WARNING: These are outdated and obsolete! Instad check out the new >tutorial section<. There you'll learn everything you could here but better!
Note: These are not tutorials, I'm just chronicling my progress as I figure stuff out. Some of the things I do might make an experienced Mega Drive coder cry out in anguish. Feel free to use these posts to guide yourself along, but be aware I might be leading you off a cliff!
Welcome back to Adventures in Mega Drive Coding, where I play around with SGDK in an attempt to get a Mega Drive game done this year!
A videogame you can’t play isn’t much of a videogame at all, so let’s implement some controls so we can move our Chameleon Kid around! After looking around I decided that JOY_readJoypad() is probably the function to use for this purpose. But before we get to that, we need variables to store the position of our sprite. So at the top of the file I added the following:
u32 posx = 64;
u32 posy = 163;
These values will place Casey on the ground. Next, I had to change SPR_addSprite() so that it actually uses these variables:
kid = SPR_addSprite(&kid_sprite,posx,posy,TILE_ATTR(PAL2, TRUE, FALSE, FALSE));
So far so good. Now for the meaty part: Handling input. Since I’m just messing around, I decided on the following simple system: When you press left or right on the controller, the value of posx either decreases or increases, respectively. Then the sprite is positioned at that X-coordinate. This ignores details like acceleration and friction, but it gets pixel moving on the screen which is all I want right now.
Getting the Input
Since we need to check the controller state every frame, I put the input handling code in the update loop. Here’s what that looks like:
while(1)
{
    u16 value = JOY_readJoypad(JOY_1);
	if(value & BUTTON_RIGHT) posx += 1;
	else if(value & BUTTON_LEFT) posx -= 1;
}
First we read the state of our Joypad using JOY_readJoypad(JOY_1). As you can probably guess, the argument JOY_1 specifies that we want to read the input from player 1.
Then we check if we have a value and if the button that was pressed was BUTTON_RIGHT. If so, we increase posx by 1. If the player pressed left instead, posx is decreased.
It’s quite self-explanatory, but do note that we’re using the bitwise operator & here, not the regular logical AND operator &&. I have to admit that I don’t quite know why & works here, but it does, so… ¯\_(ツ)_/¯
Moving the Sprite
Now that we can manipulate our variable we just need to update our sprite’s position accordingly. For that SGDK provides the function SPR_setPosition() which works exactly how you think it does:
SPR_setPosition(kid,posx,posy);
You tell it what sprite to put where, and the function teleports the pixels around the screen by itself. And now we’re done…except for one thing: We have to call SPR_update() again to actually update the sprite engine and see our changes reflected on screen. So in the end, this is what my update loop looks like:
while(1)
{
	u16 value = JOY_readJoypad(JOY_1);
	if(value & BUTTON_RIGHT) posx += 1;
	else if(value & BUTTON_LEFT) posx -= 1;

	SPR_setPosition(kid,posx,posy);
	SPR_update();
}
And if we fire up the game and start pressing buttons…

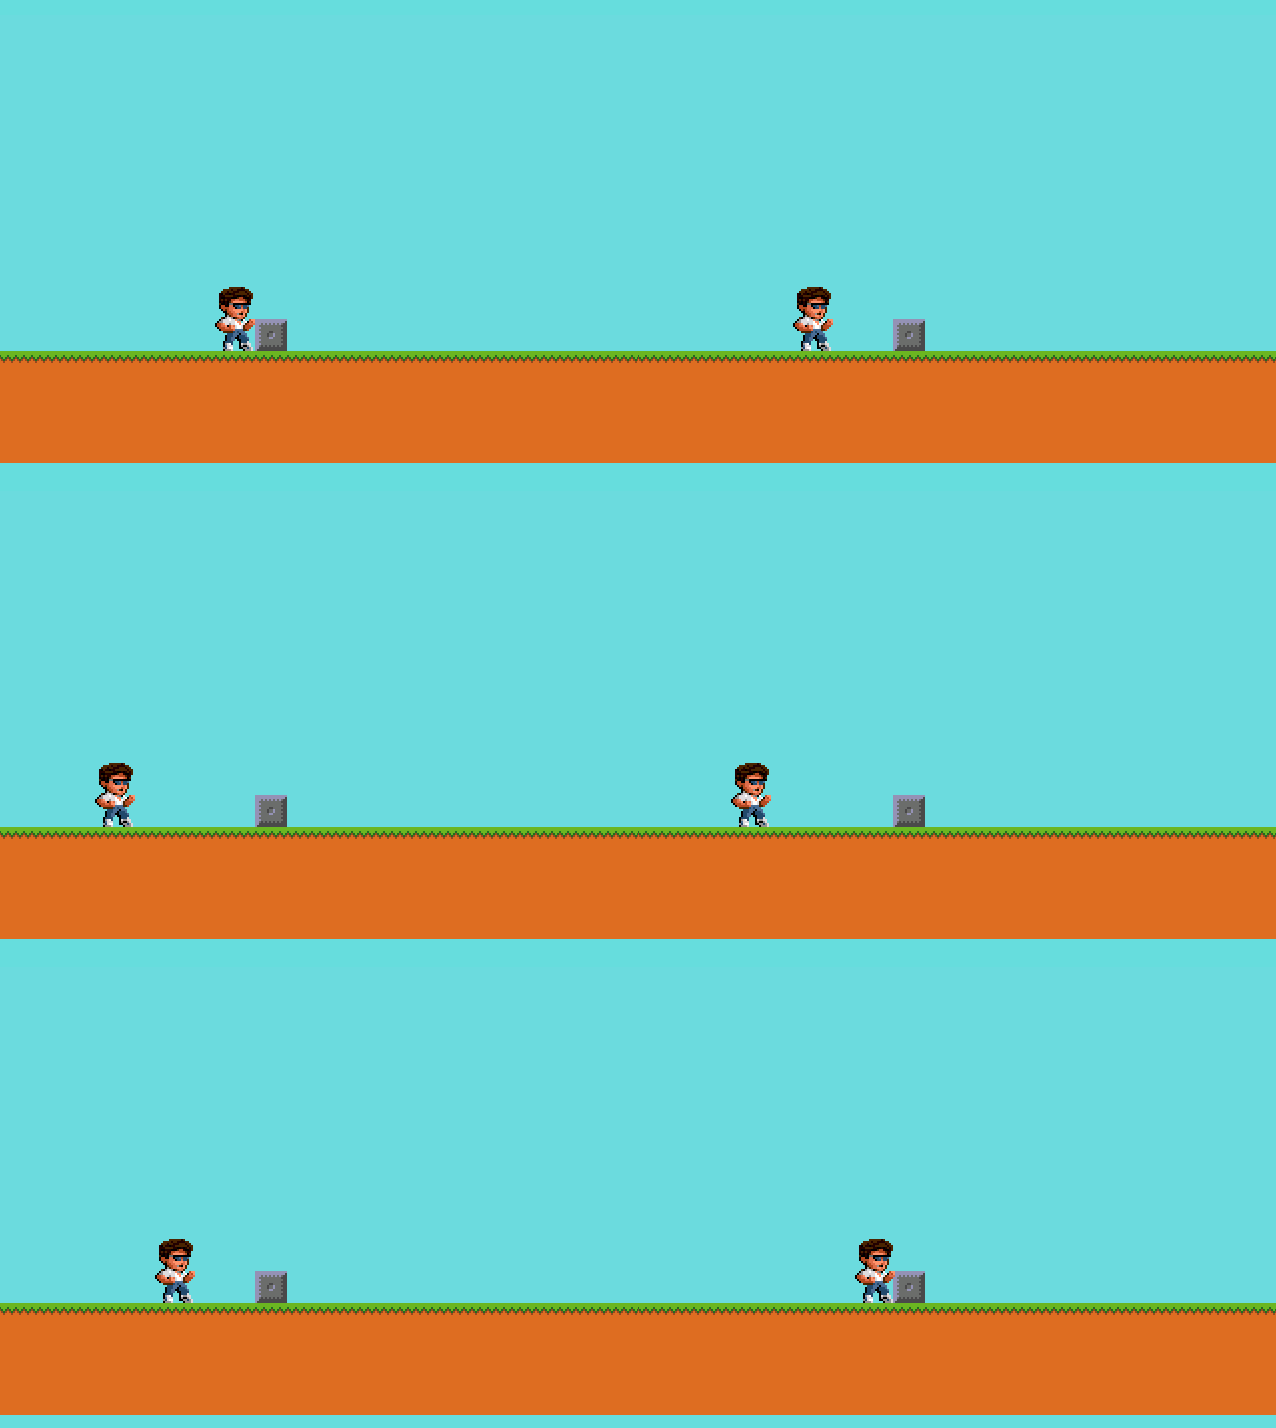
…Kid Chameleon starts sliding across the floor! Our game is now interactive and thus qualifies as actually being a game. I’d call that a huge success! There is a way to use a sort-of callback to handle Joypad input, but I think the direct way is a bit more efficient in this case. After all, we’re hardly doing anything…
One more thing: I’ve got something special coming up which I hope I can post around Christmas time. I’m not gonna say what it is but I will say that it’s Mega Drive related, so…maybe keep an eye out! You can also follow me on Twitter to get notified as soon as I’ve posted it.
Check out the rest of this series!

Want To Buy Me a Coffee?
Coffee rules, and it keeps me going! I'll take beer too, though.

Related Posts
Go! Go! Pogogirl Is Coming to Mega Drive!
It is finally happening: Go! Go! PogoGirl is coming to the Sega Mega Drive!
HaxeFlixel Tutorials!
If you’ve popped over to the tutorial section recently you might have noticed that I’ve added my very first HaxeFlixel tutorial! It shows how to implement a simple, pixel-perfect 2D water shader which I used for Go! Go! PogoGirl. But a few of you might be wondering what a HaxeFlixel is. Well, it’s a 2D game framework that is as powerful as it is underrated! It runs on the (also underrated) Haxe language, is extremely well documented, open source, and has built-in functions for almost anything you’d need.
Comments
By using the Disqus service you confirm that you have read and agreed to the privacy policy.
comments powered by Disqus

