Simple Game States
NOTE:
This tutorial is most likely not compatible with versions of SGDK above 1.70.
Unfortunately, I simply do not have the capacity or ability to update them right now. Read more about it here. Sorry.

Game states (sometimes also called scenes or screens) are an important building block of games. Well, at least they should be. They not only serve to make code more maintainable and better structured, they can also help with resource management and performance. After all, you don’t need to have the boss sprite in RAM while the player is in the options screen, right?
In case you’re not quite sure what a game state is: Think about pretty much any video game. When you start it up, you usually see a title screen. Once you press start on your controller, you’re taken to the main menu. From there you can start the game proper, or access the options menu. In this case the game would have the following states:
- Title state
- Menu state
- Play state
- Options state
These states work independently of one another. They each require different assets to be loaded (the title state needs the game’s logo, the play state needs the actual level data, etc.) and also take different inputs (pressing C in the menu screen might select an option in the menu state, while it would let the player jump in the play state). Since they are so separate, it makes sense to also separate them in code. This is called state management.
There are multiple ways to create a system to manage different states, but I will introduce you to a simple one here. It might not be the best system for very complex games where you switch between a lot of states (think about RPGs for example, with all their menus and battle screens and maps and cutscenes) but for more basic games it’s more than enough. Let’s get into it!
Setting up
Create a new project and open it in VSCode. We’ll do all our coding in main.c, although it could make sense to spread the code of each state across different files, depending on how complex everything is.
First of all, we’ll need a list of all states our game can have. In this example we’ll just deal with two states: A menu state and a play state. So at the top of main.c add the following enum:
enum GAME_STATE
{
    STATE_MENU,
    STATE_PLAY
};
We’ll also need a variable that will store the currently active state:
enum GAME_STATE currentState;
And that’s it for variables. Now let’s move on to functions!
First let’s define a function that handles the most basic initialization stuff. This will take care of the things that need to be set up at the very beginning of the game, regardless of state. This can include setting the resolution, initializing the Joypad, loading resources needed across all states and other things.
In our case, we’ll just initialize the joypad and make sure that STATE_MENU is the first state to be loaded:
void basicInit(){
    JOY_init();
    currentState = STATE_MENU;
}
Then call basicInit() at the very top of main().
Creating States
So far so good. Now let’s actually implement the two states that we want in the game. In our case, the states will simply be functions. These functions will contain all the code that each state needs. I’ll go into how it works in a second, but let’s just create these state functions first:
void processStateMenu(){

}

void processStatePlay(){

}
And now let’s add the code that will actually call these state functions. We will do this by adding a switch statement to our main game loop that will check currentState and call the appropriate state function. Your main function should look like this:
int main()
{
    basicInit();

    while(1)
    {
        switch(currentState){
            case STATE_MENU:{
                processStateMenu();
                break;
            }
            case STATE_PLAY:{
                processStatePlay();
                break;
            }
        }
    }
    return (0);
}
When our game is booted up, the first thing that happens is basicInit() where we set our current state to STATE_MENU. When the main game loop while(1) starts, the switch statement will then call processStateMenu() and only that function. The play state is not active, so we don’t need to deal with it. This is the basic functionality of a state manager.
Now let’s flesh out our menu state so that we can get stuff on screen. Add these two lines to processStateMenu():
VDP_setPaletteColor(0, RGB24_TO_VDPCOLOR(0x000000));
VDP_drawText("MENU STATE", 10, 13);
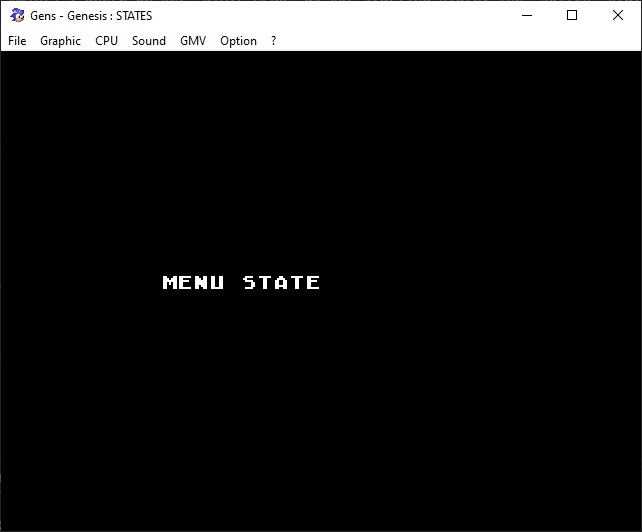
This will set the background color to black and draw the text “MENU STATE” on screen.
Similarly, add the following two lines to processStatePlay():
VDP_setPaletteColor(0, RGB24_TO_VDPCOLOR(0x6dc2ca));
VDP_drawText("PLAY STATE", 10, 13);
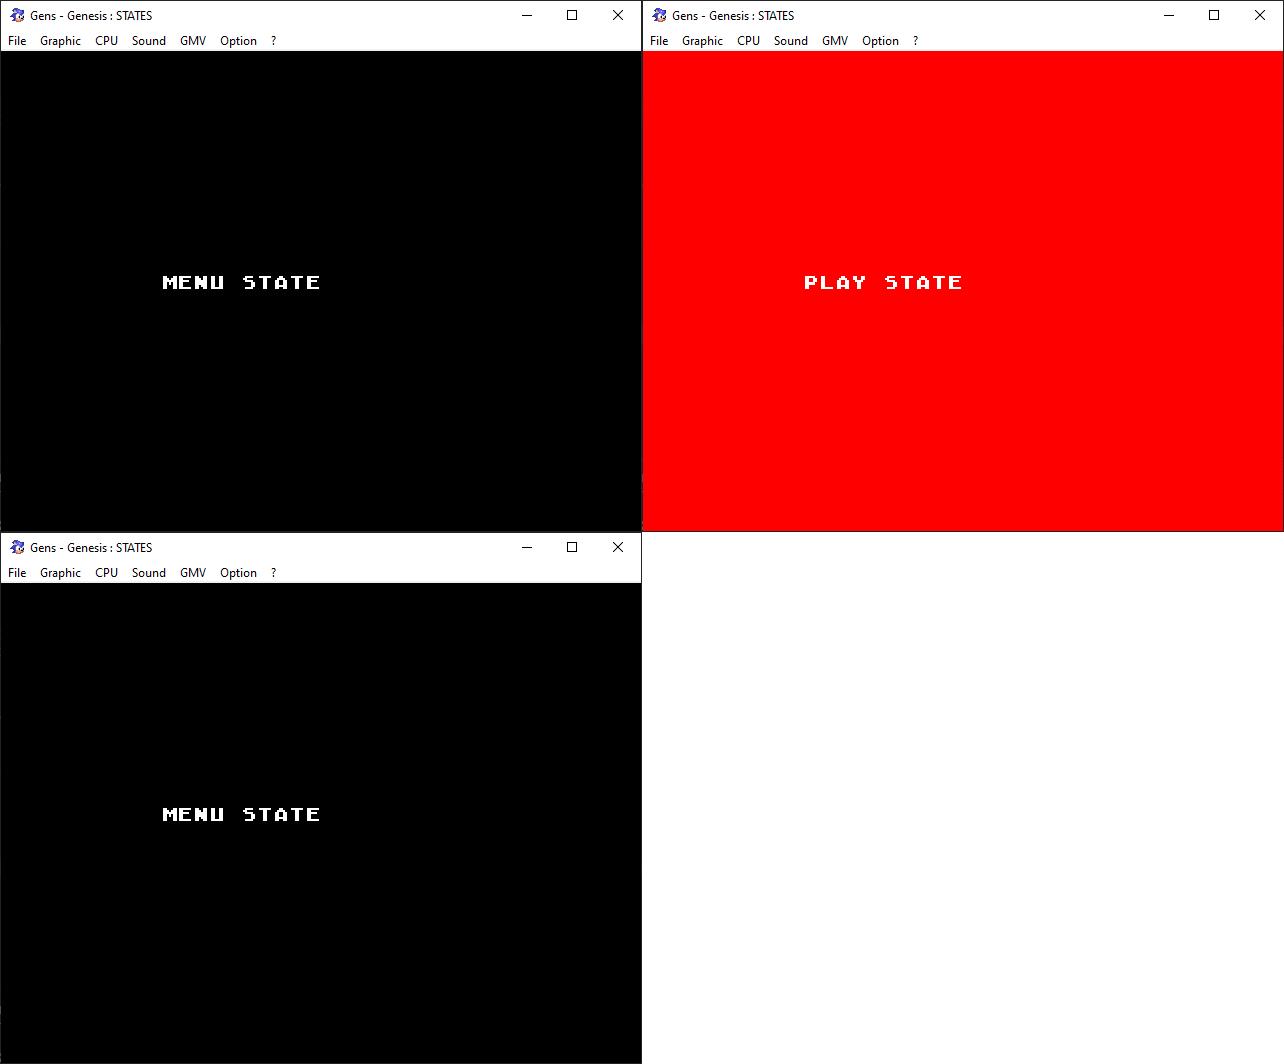
This will make the background red and draw “PLAY STATE” on the screen instead. So now we can easily see which state is currently active.
If you compile the game now, you should be greeted by the menu state:

So far so good. Now let’s add a way to switch to the play state. We’ll keep it simple for demonstration purposes and just make it so that pressing start on the controller switches from the menu state to the play state. So create a new joypad callback:
void joyHandlerMenu(u16 joy, u16 changed, u16 state)
{
    if (joy == JOY_1)
    {
        if (state & BUTTON_START)
        {
            currentState = STATE_PLAY;
        }
    }
}
And set it as the active event handler at the beginning of processStateMenu:
JOY_setEventHandler(&joyHandlerMenu);
Compile the game again and press start on your controller. The game should now switch to the play state. However, you’ll notice that something seems off. And maybe you have already realized that we have a glaring oversight in our state logic.
The calls to our state function are located in the main game loop. This loop is executed every tick. This means that processStateMenu() is called every tick, which also means that VDP_drawText("MENU STATE", 10, 13) is called every tick! And once we switch to the play state, that code is also called every tick. That’s not good at all. Luckily, this is easy to fix.
State Structure
A state is split up into three sections: init, update and cleanup. In this way it mirrors the structure of a game.
The code of the init step is run only once when the state is first made active. Here you would load resources, set up the joypad and other one-time things.
The update section is basically the game loop. Here you do stuff that needs to be done every frame, like moving and colliding sprites.
The cleanup section is called at the end of a state. Here you clean up everything that will no longer be needed by the next state. You can clear variables, free up memory…
So much for the theory. But how do we implement this? It’s actually rather simple. Modify your processStateMenu() function to look like this:
void processStateMenu(){
    //Init
    JOY_setEventHandler(&joyHandlerMenu);

    VDP_setPaletteColor(0, RGB24_TO_VDPCOLOR(0x000000));
    VDP_drawText("MENU STATE", 10, 13);

    //Update
    while(currentState == STATE_MENU){
        SYS_doVBlankProcess();
    }

    //Cleanup
    VDP_clearText(10, 13, 10);
}
The most important change here is the addition of a new while loop. This loop will remain active until we change the state; in that case, currentState == STATE_MENU will be false, and code execution will move on to the cleanup section, where we delete our “MENU STATE” text.
Let’s recap: Our game begins in main(), where we set STATE_MENU as our starting state. The switch statement will then determine that processStateMenu() should be called. This will execute the init stuff of that state (drawing “MENU STATE” on screen etc.) and then enter the state loop while(currentState == STATE_MENU). Since the game will now be “stuck” inside this loop, processStateMenu() will not be called every frame. Once we want to change the state, the game will break out of the state loop and clean up the state. In the next iteration of the main game loop, the switch statement will then call up another state.
Well, I sure hope I explained that properly.
Anyway, let’s edit processStatePlay() as well so that it functions in a similar way. For fun, let’s make it so that the play state automatically switches back to the menu state after 2 seconds.
After we’ve changed the background color and drawn our text, add the state loop and the timer stuff:
u16 timer = 120;
while (currentState == STATE_PLAY)
{
    timer--;
    if(timer == 0){
        currentState = STATE_MENU;
    }

    SYS_doVBlankProcess();
}
Then add the cleanup code after the loop, in our case we again simply delete the line of text:
VDP_clearText(10, 13, 10);
Also, to fix a bug before it occurs: Set the joy event handler to NULL in the init part of the play state like this:
void processStatePlay(){
    JOY_setEventHandler(NULL);
    //...
If you don’t do this, joyHandlerMenu will remain the active callback. Since those inputs are only meant for the menu state, we need to disable them in the play state. But in an actual game you would of course simply set the event handler to another callback function that processes the actual game controls.
Okay, that was a lot of stuff. But if you compile the game now, you should have a working state system. Pressing start in the menu state will switch to the play state, then switch back to the menu state after 2 seconds.

And with this you have a simple state management system. As I’ve mentioned there are more advanced solutions that implement a stack using pointers, but I wanted to show you a relatively simple solution.
Until next time and be excellent to each other!
If you've got problems or questions, join the official SGDK Discord! It's full of people a lot smarter and skilled than me. Of course you're also welcome to just hang out and have fun!

Want To Buy Me a Coffee?
Coffee rules, and it keeps me going! I'll take beer too, though.

Check out the rest of this tutorial series!
Comments
By using the Disqus service you confirm that you have read and agreed to the privacy policy.
comments powered by Disqus