Megapong 4 - Palettes


Last time we put a tile on screen, which was awesome. But the color was wrong, which wasn’t so awesome. Also, one tile doesn’t really make a background, does it? So we’ll take care of all that this time around. Let’s get started!
About Palettes
Okay, so why was our tile white instead of the color it should’ve been? Simply put: We didn’t tell SGDK what colors we actually wanted, so it went with the defaults. This might sound weird to you if you’ve done any gamedev on modern systems recently, because there, just loading an image is enough; the engine will display it as is. However, older consoles like the Mega Drive were a lot more restricted in memory and general technical capability, so they used palettes to handle colors. The Mega Drive can handle 4 palettes with 16 colors each, of which a total of 61 can be displayed at once. That might not sound like a lot, but you can do a lot of amazing things with that!
By the way, Wikipedia has a nice little overview of the palettes of different game consoles.
Setting Palettes
But enough theory, how do we get our tile to be the correct color? We’re gonna do it first, then I’ll explain everything. Put this after loading the tile, but before putting it on screen:
PAL_setPalette(PAL1, bgtile.palette->data);
This gets the palette from our bgtile (remember, we compiled it as an IMAGE so it contains palette data) and adds it to PAL1. Now we just need to tell SGDK to use PAL1 for our tile. Modify your setTileXY call so it looks like this:
VDP_setTileMapXY(BG_B,TILE_ATTR_FULL(PAL1,FALSE,FALSE,FALSE,1),2,2);
So the complete code is now:
VDP_loadTileSet(bgtile.tileset,1,DMA);
PAL_setPalette(PAL1, bgtile.palette->data);
VDP_setTileMapXY(BG_B,TILE_ATTR_FULL(PAL1,FALSE,FALSE,FALSE,1),2,2);
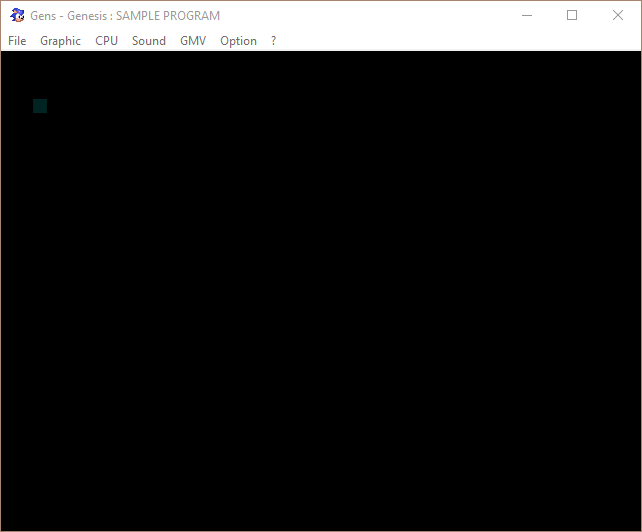
If you compile the game our tile should now shine in splendid color! Well it’s a bit too dark for that, but you know what I mean.
Alright, so what exactly did we do?
As I’ve explained, the Mega Drive can use up to 4 palettes. The line PAL_setPalette(PAL1, bgtile.palette->data); extracts the palette data from our tile (it’s a property called data of a struct called palette, which is saved in our bgtile) and sets it as PAL1 – in other words, the first palette we want to use in our game. Saving it globally like that allows other tiles to use the same palette, which saves on memory and is the whole point of storing it separately from the actual images in the first place.
Note: Contrary to what you might think, PAL1 is not actually the first palette the Mega Drive stores. In fact, you can choose between PAL0 – PAL3, there is no PAL4! Now if you’re wondering why we’re using PAL1 here and not PAL0: The reason has to do with our background color. I’ll explain this in more detail in my next tutorial, but for now just keep using PAL1. It’s not like our current game needs more than one palette anyway!
What we did with VDP_setTileMapXY seems a bit more daunting, but it’s actually not as bad as it looks. Take a look at the previous and current versions side by side:
VDP_setTileMapXY(BG_B,1,2,2); //old
VDP_setTileMapXY(BG_B,TILE_ATTR_FULL(PAL1,FALSE,FALSE,FALSE,1),2,2); //new
If you look closely, you’ll notice that we basically just replaced the 1 (pointing to a tile in VRAM) with a load of other stuff. So what does this stuff do? Here’s the signature of the function:
TILE_ATTR_FULL(pal,prio,flipV,flipH,index)
Basically, TILE_ATTR_FULL is a way to more closely define how a tile is displayed. Let’s break it down:
pal: What palette you want the tile to use
prio: Remember background planes? This setting would allow you to override the draw order, meaning that a tile on BG_B can be drawn atop of BG_A.
flipV: When set to TRUE, this will flip the tile vertically.
flipH: When set to TRUE, this will flip the tile horizontally.
index: You know this one: The index of the tile in VRAM.
So instead of just telling SGDK “We want to use tile 1” we can tell it to “use tile 1 with these properties…”. That’s the point of the TILE_ATTR_FULL function.
Drawing the Background
Alright, now we have the color sorted out. Time to draw our background! But setting each tile manually using VDP_setTileMapXY wouldn’t be exactly thrilling. Of course we could write a loop, but SGDK offers an easier solution in the form of a new function!
void VDP_fillTileMapRect(VDPPlan plan, u16 tile, u16 x, u16 y, u16 w, u16 h)
Can you guess what it does? Feel free to experiment a bit before reading on!
As the name implies, this function draws and fills a rectangle with tiles. The parameters are pretty self-explanatory too, but let’s break them down anyway:
plan: The background plane on which to draw your tiles.
tile: The tile index to use. Remember that you can use TILE_ATTR_FULL to set more parameters!
x: The x-coordinate (in tiles) of the upper-left corner of the rectangle.
y: The y-coordinate (in tiles) of the upper-left corner of the rectangle.
w: The width of the rectangle (in tiles).
h: The height of the rectangle (in tiles).
So how would you use this function to draw a rectangle to fill the screen with our tile, using the correct palette? By replacing our call to VDP_setTileMapXY with this:
VDP_fillTileMapRect(BG_B,TILE_ATTR_FULL(PAL1,0,FALSE,FALSE,1),0,0,40,30);
For reference, this is what your main() function should look like right now:
//Load our tileset
VDP_loadTileSet(bgtile.tileset,1,DMA);
PAL_setPalette(PAL1, bgtile.palette->data);
VDP_fillTileMapRect(BG_B,TILE_ATTR_FULL(PAL1,0,FALSE,FALSE,1),0,0,40,30);

while(1)
{
	//Do cool stuff in a loop!
	SYS_doVBlankProcess();
}

//Stop doing cool stuff :(
return(0);
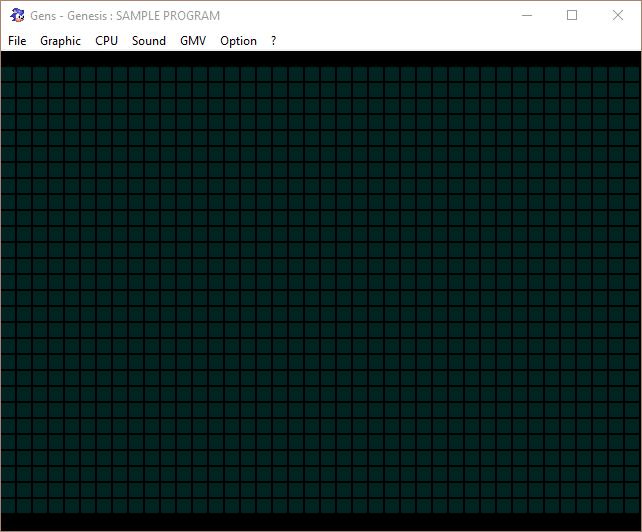
And with that we have a background for our game, which should look like this:
That’s gonna wrap things up for today, but before I go one last word of advice in case you want to make your own tiles.
When creating your own tiles in Photoshop or another software, make sure to save the file in indexed mode. This will save the palette data separately, allowing SGDK to extract the information. Simply using RGB or another format won’t work!
Also: I highly recommend you finish this tutorial before attempting to create your own assets for it. The method we’re using to deal with palettes isn’t the best or most flexible one, since we’ll essentially be loading all the colors we need from one image (bgtile). My tile graphic already contains all the colors we’ll need for this project, so if you were to create your own tile now that would have to be the case as well. I’ll be covering better ways to work with palettes in the future, but for now I’d just like to keep things as simple as possible (which isn’t that simple at all, but that’s retro console programming for you).
Next time we’ll get things moving by adding a sprite to our project so it’ll start to look like a game. Thank you for reading and until next time!
If you've got problems or questions, join the official SGDK Discord! It's full of people a lot smarter and skilled than me. Of course you're also welcome to just hang out and have fun!

Want To Buy Me a Coffee?
Coffee rules, and it keeps me going! I'll take beer too, though.
Check out the rest of this tutorial series!
Comments
By using the Disqus service you confirm that you have read and agreed to the privacy policy.
comments powered by Disqus